Wet Grinder Wisdom : The Complete 2025 Guide for Perfect Batter Every Time
History, Dos and Don’ts, Batter Guide, Model Comparison, Troubleshooting, Maintenance, Recipes and More
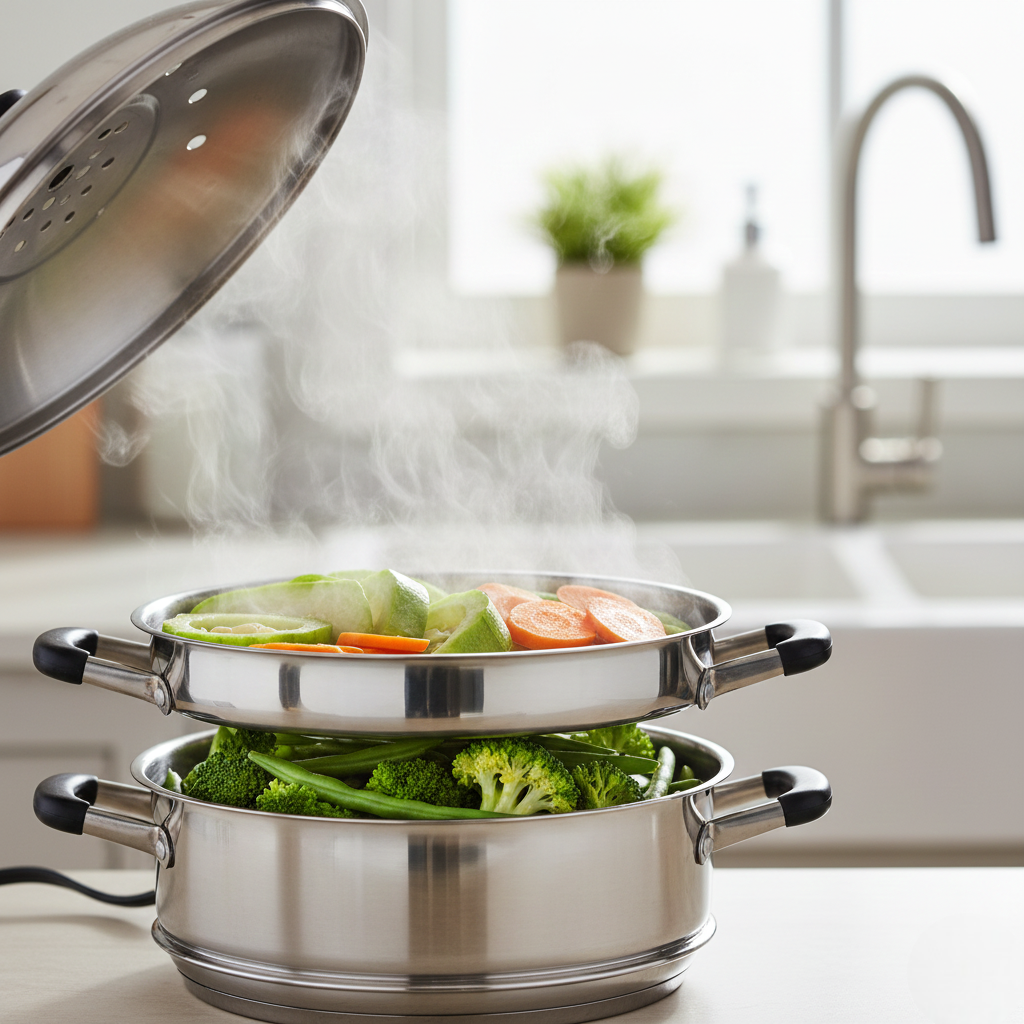
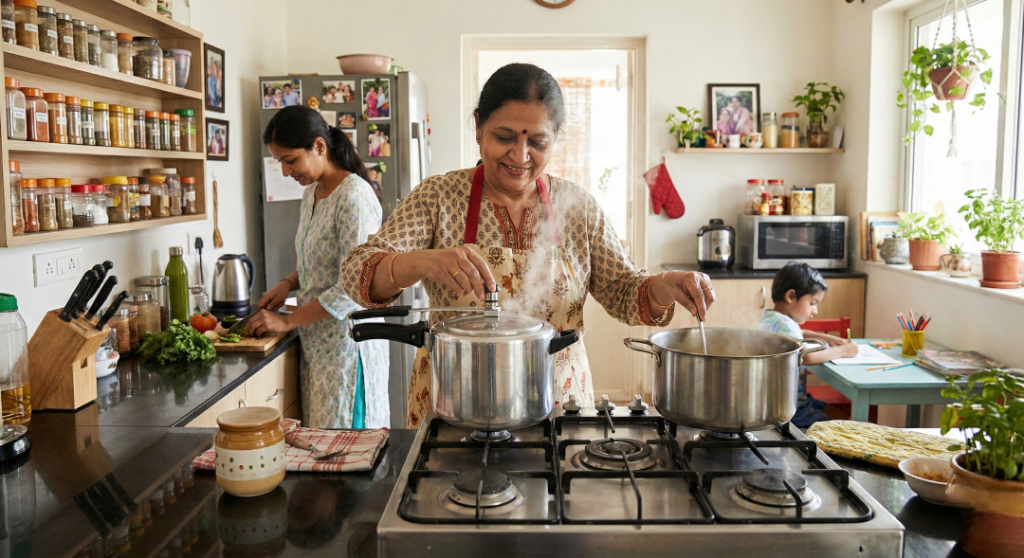
For generations, Indian kitchens have relied on the wet grinder to create essential batters for idli, dosa, vada, paniyaram and more. While its purpose remains the same, the appliance has evolved dramatically over time, moving from traditional manual grinding stones to the modern, efficient Ultra Wet Grinders used in homes today.
This comprehensive guide helps you understand how to get the perfect batter every time, avoid common mistakes, choose the right Ultra model, and maintain your grinder for long-lasting performance and consistent results.
A Brief History of Wet Grinders
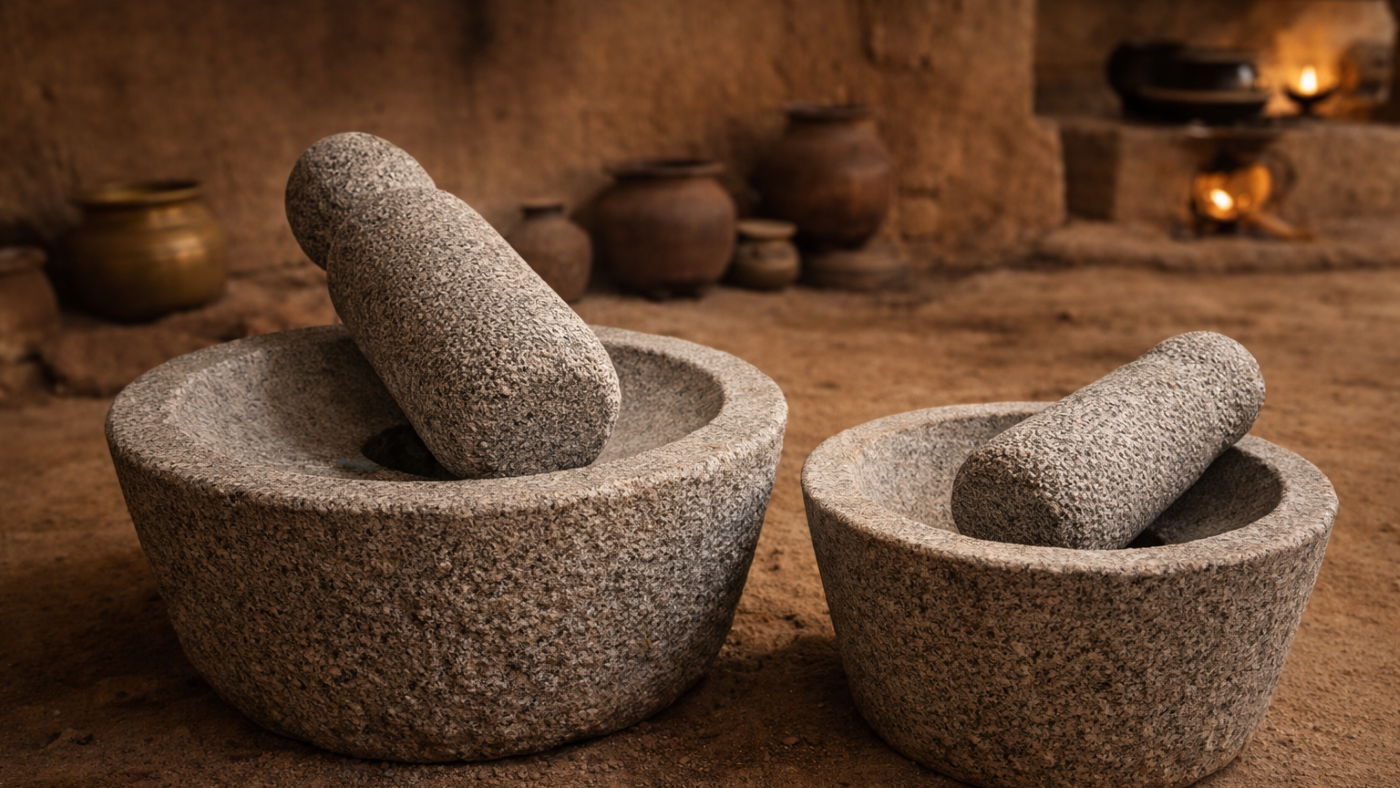
Before electricity, wet grinding was done using large granite stones called aattangal. Women manually rotated the stones while adding water gradually to crush soaked rice and lentils into batter.
Evolution of Wet Grinders
- Traditional manual stones: Labor-intensive and time-consuming but produced excellent texture
- Electric wet grinders (1970s): Introduced motorized grinding
- Tabletop wet grinders (1990s): Compact and easy to clean
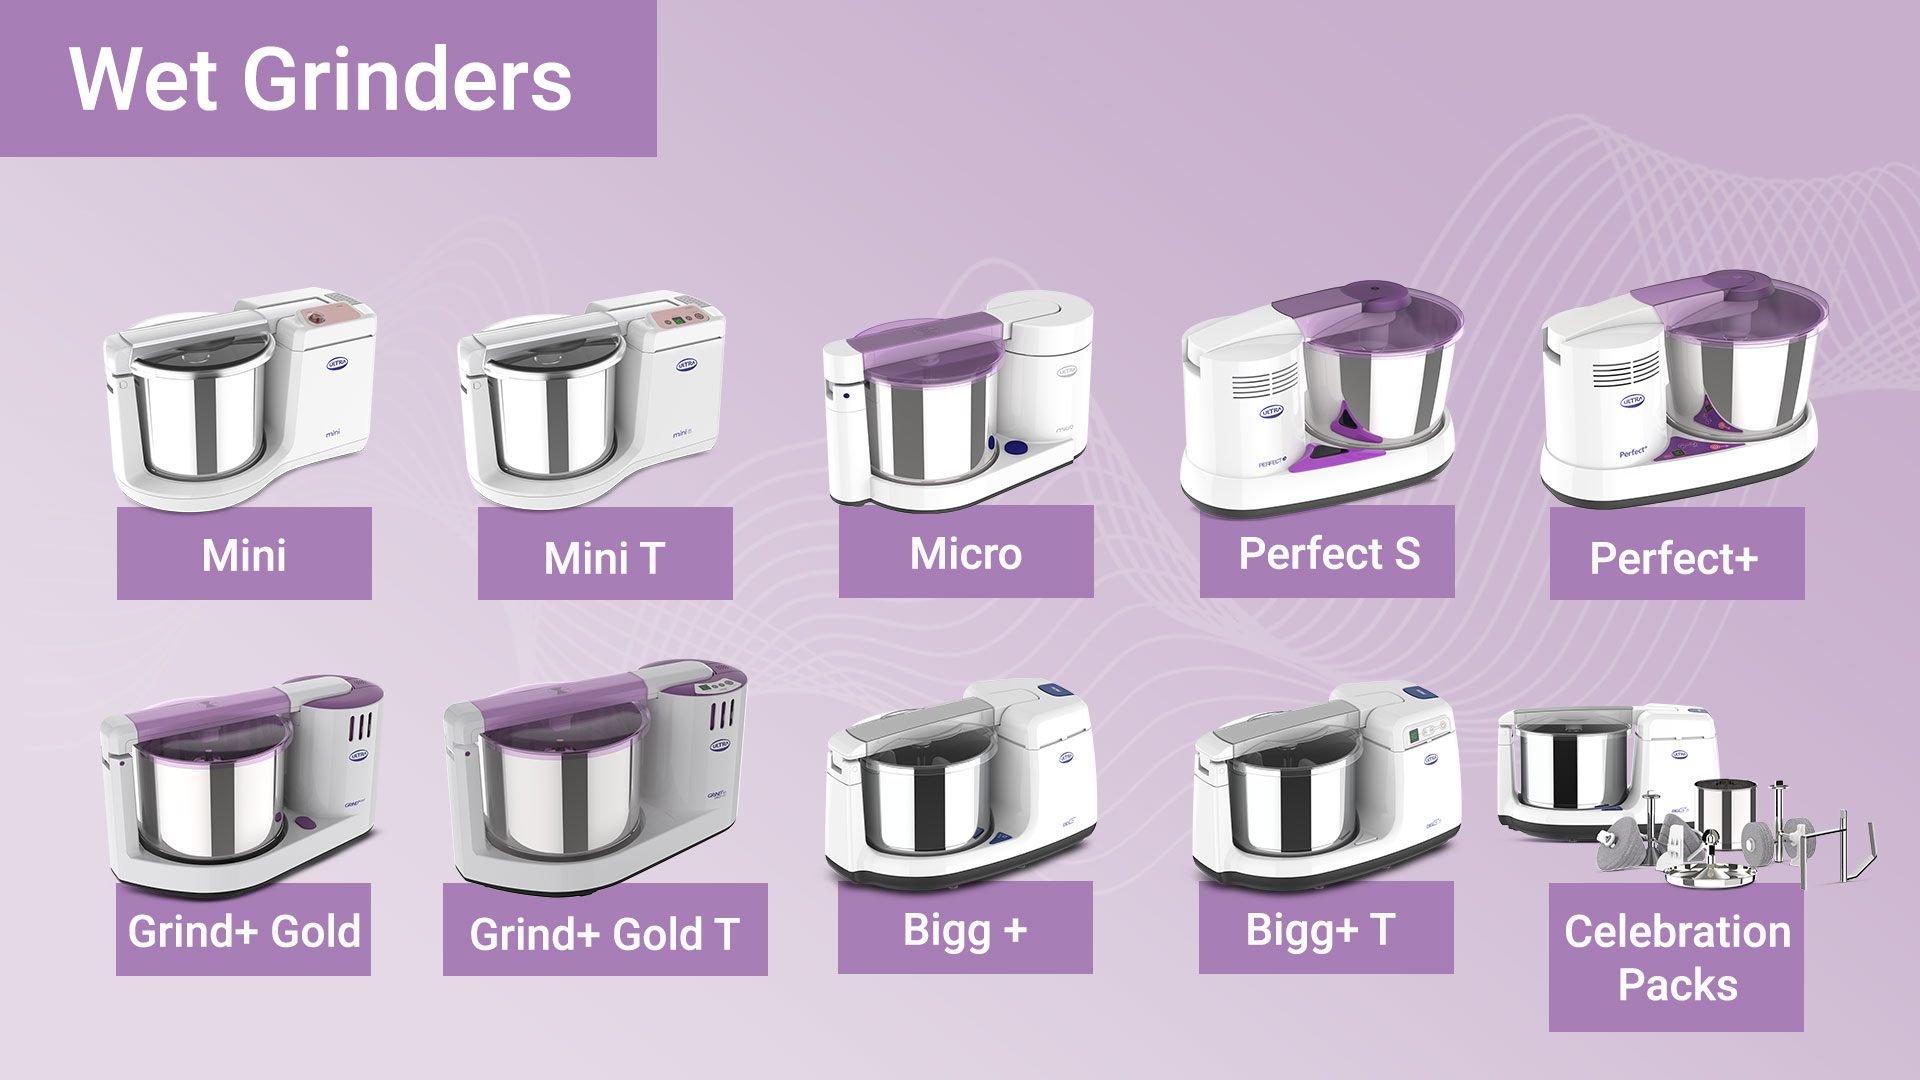
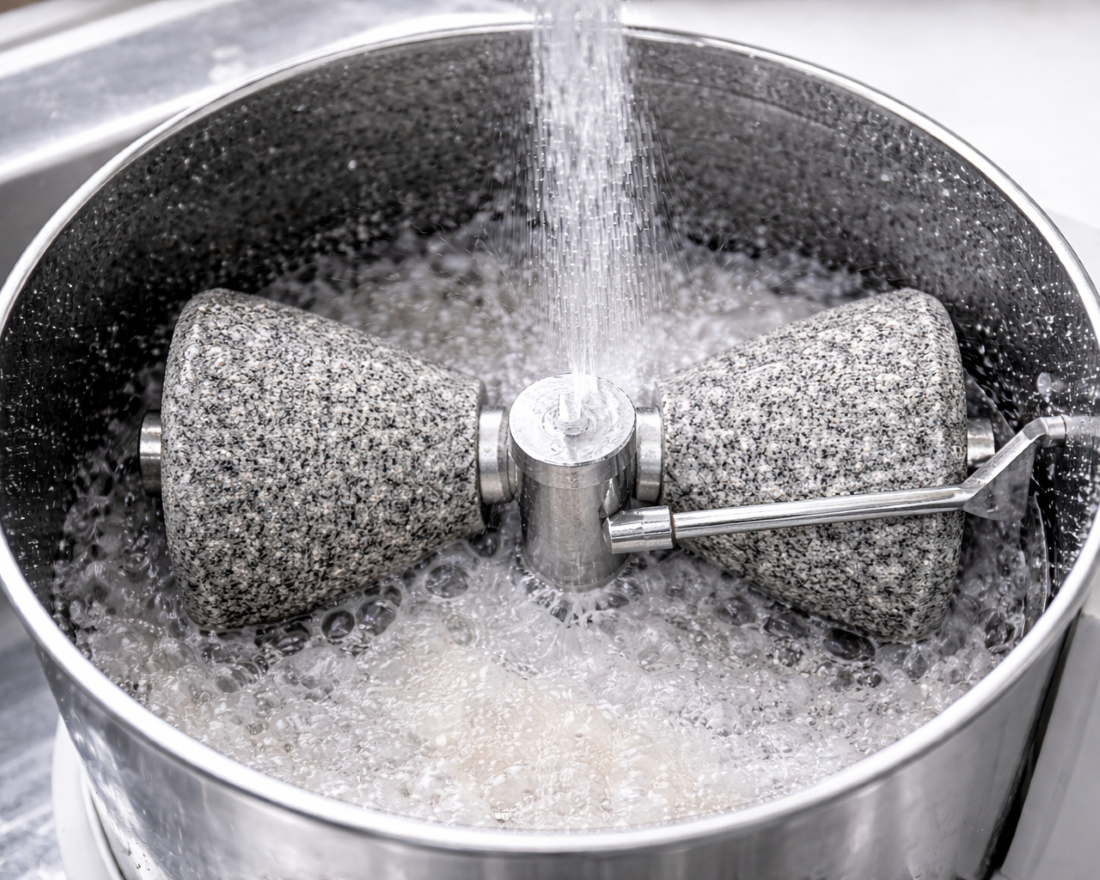
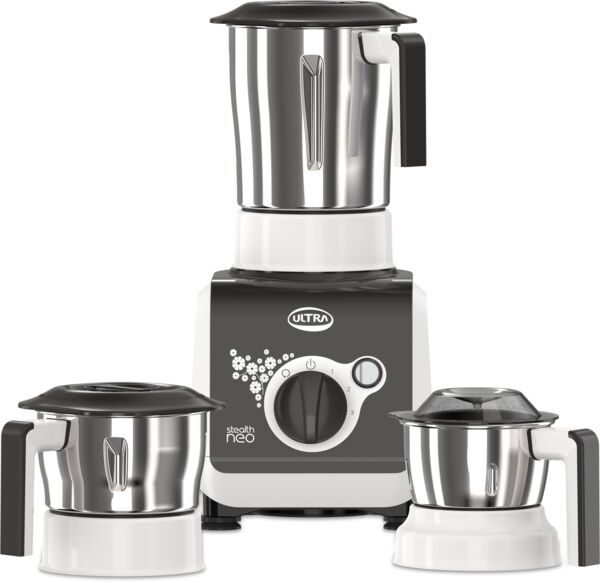
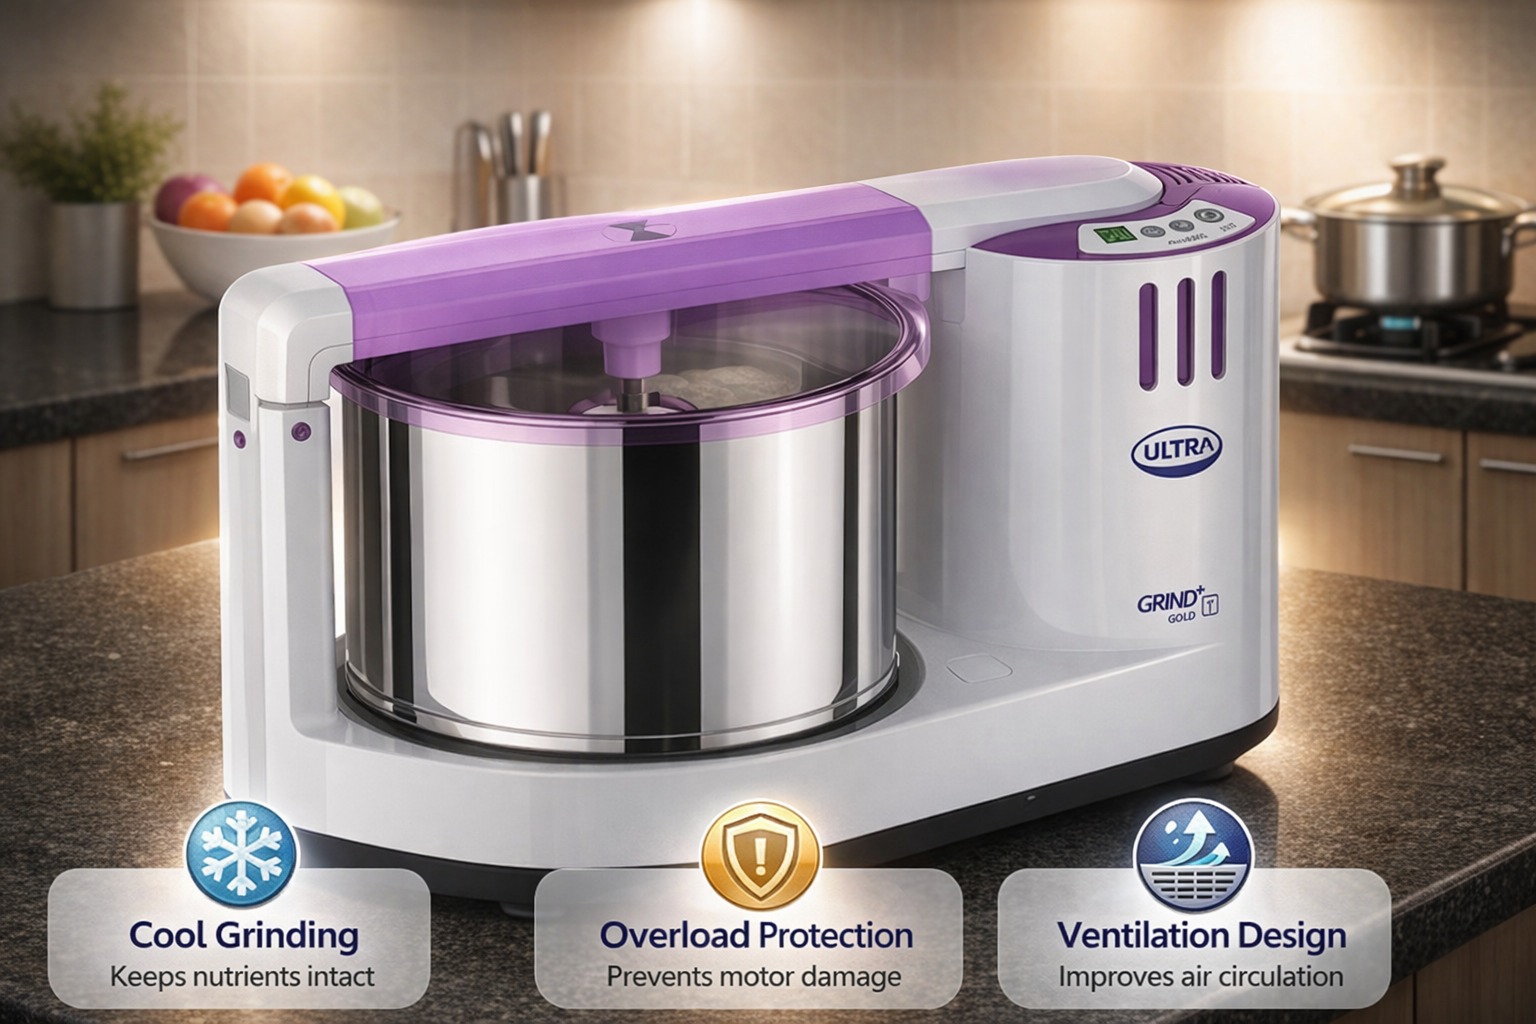
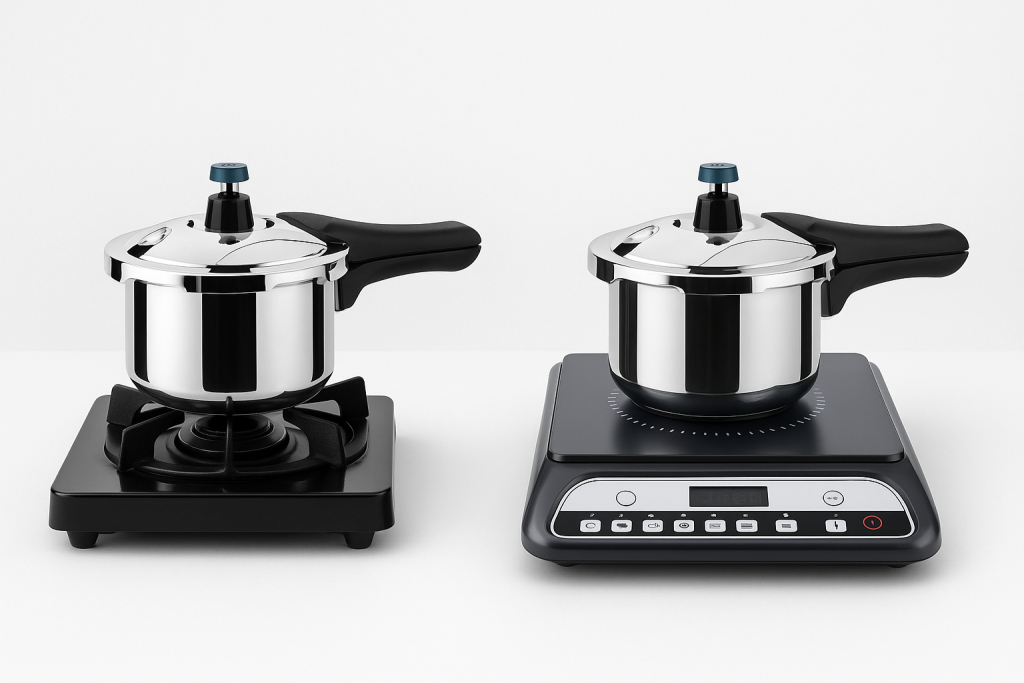
- Modern Ultra Wet Grinders:
- Patented conical stones
- Cool grinding technology
- Stainless steel drums
- Transparent lids
- Compact, lightweight design
Ultra pioneered several innovations, making them one of India’s most trusted wet grinder brands.
Step-by-Step Batter Preparation Guide
Perfect batter depends on soaking, grinding, consistency and fermentation.
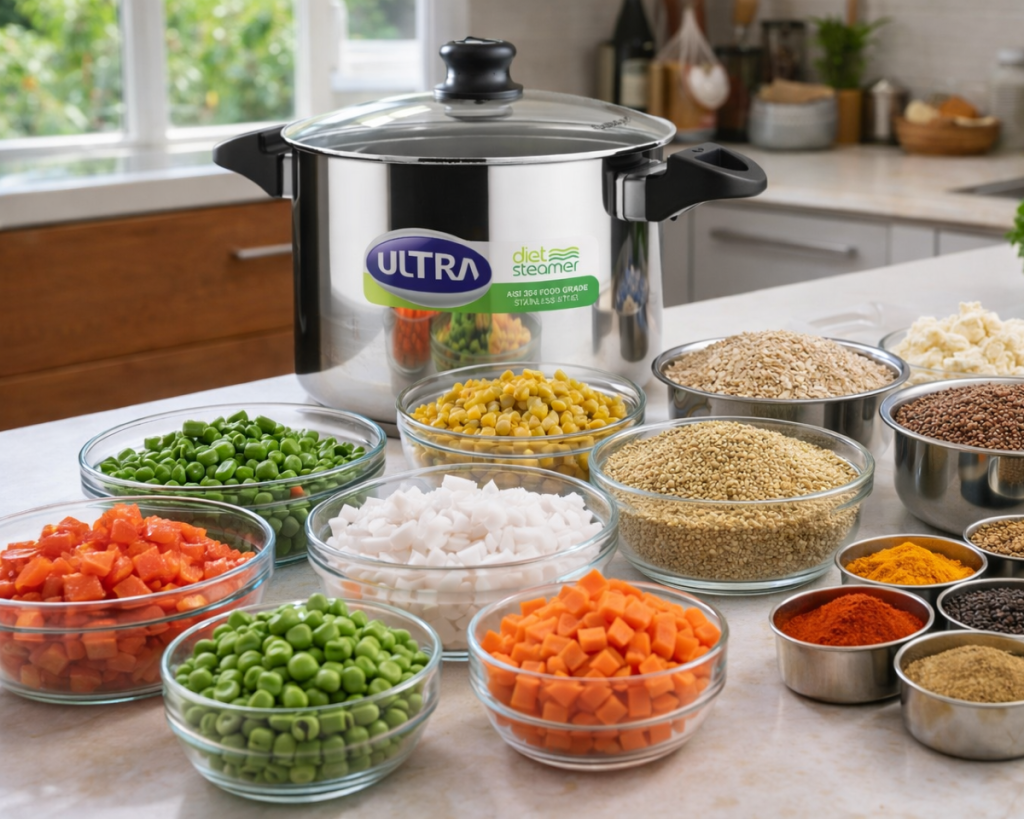
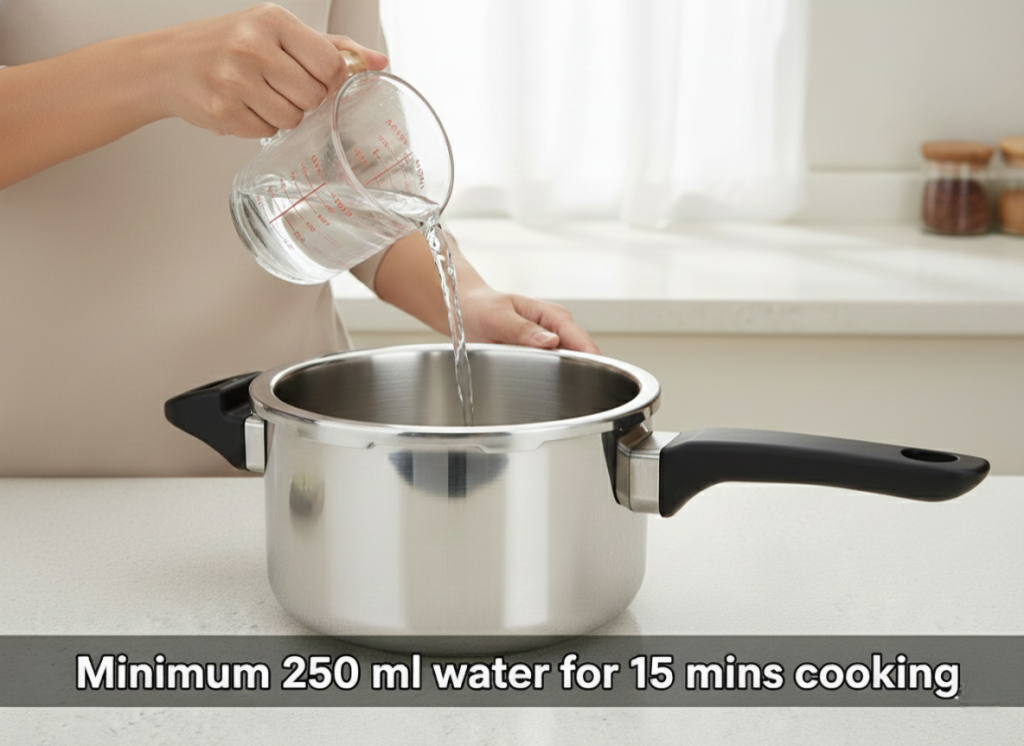
Step 1: Soak Ingredients Properly
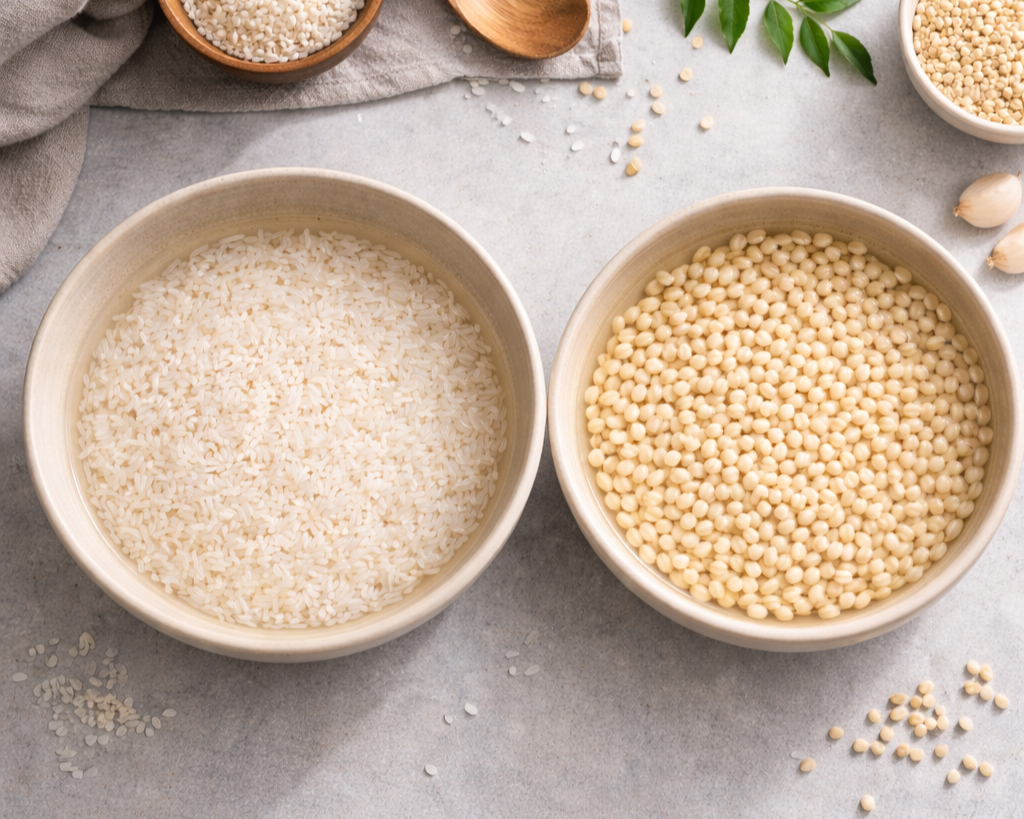
- Rice: 4 to 6 hours or overnight
- Urad dal: 2 to 4 hours
- Fenugreek seeds: 1/2 teaspoon (optional)
- Poha: 15 minutes (optional for softer idlis)
Proper soaking softens ingredients and reduces stress on the grinder motor.
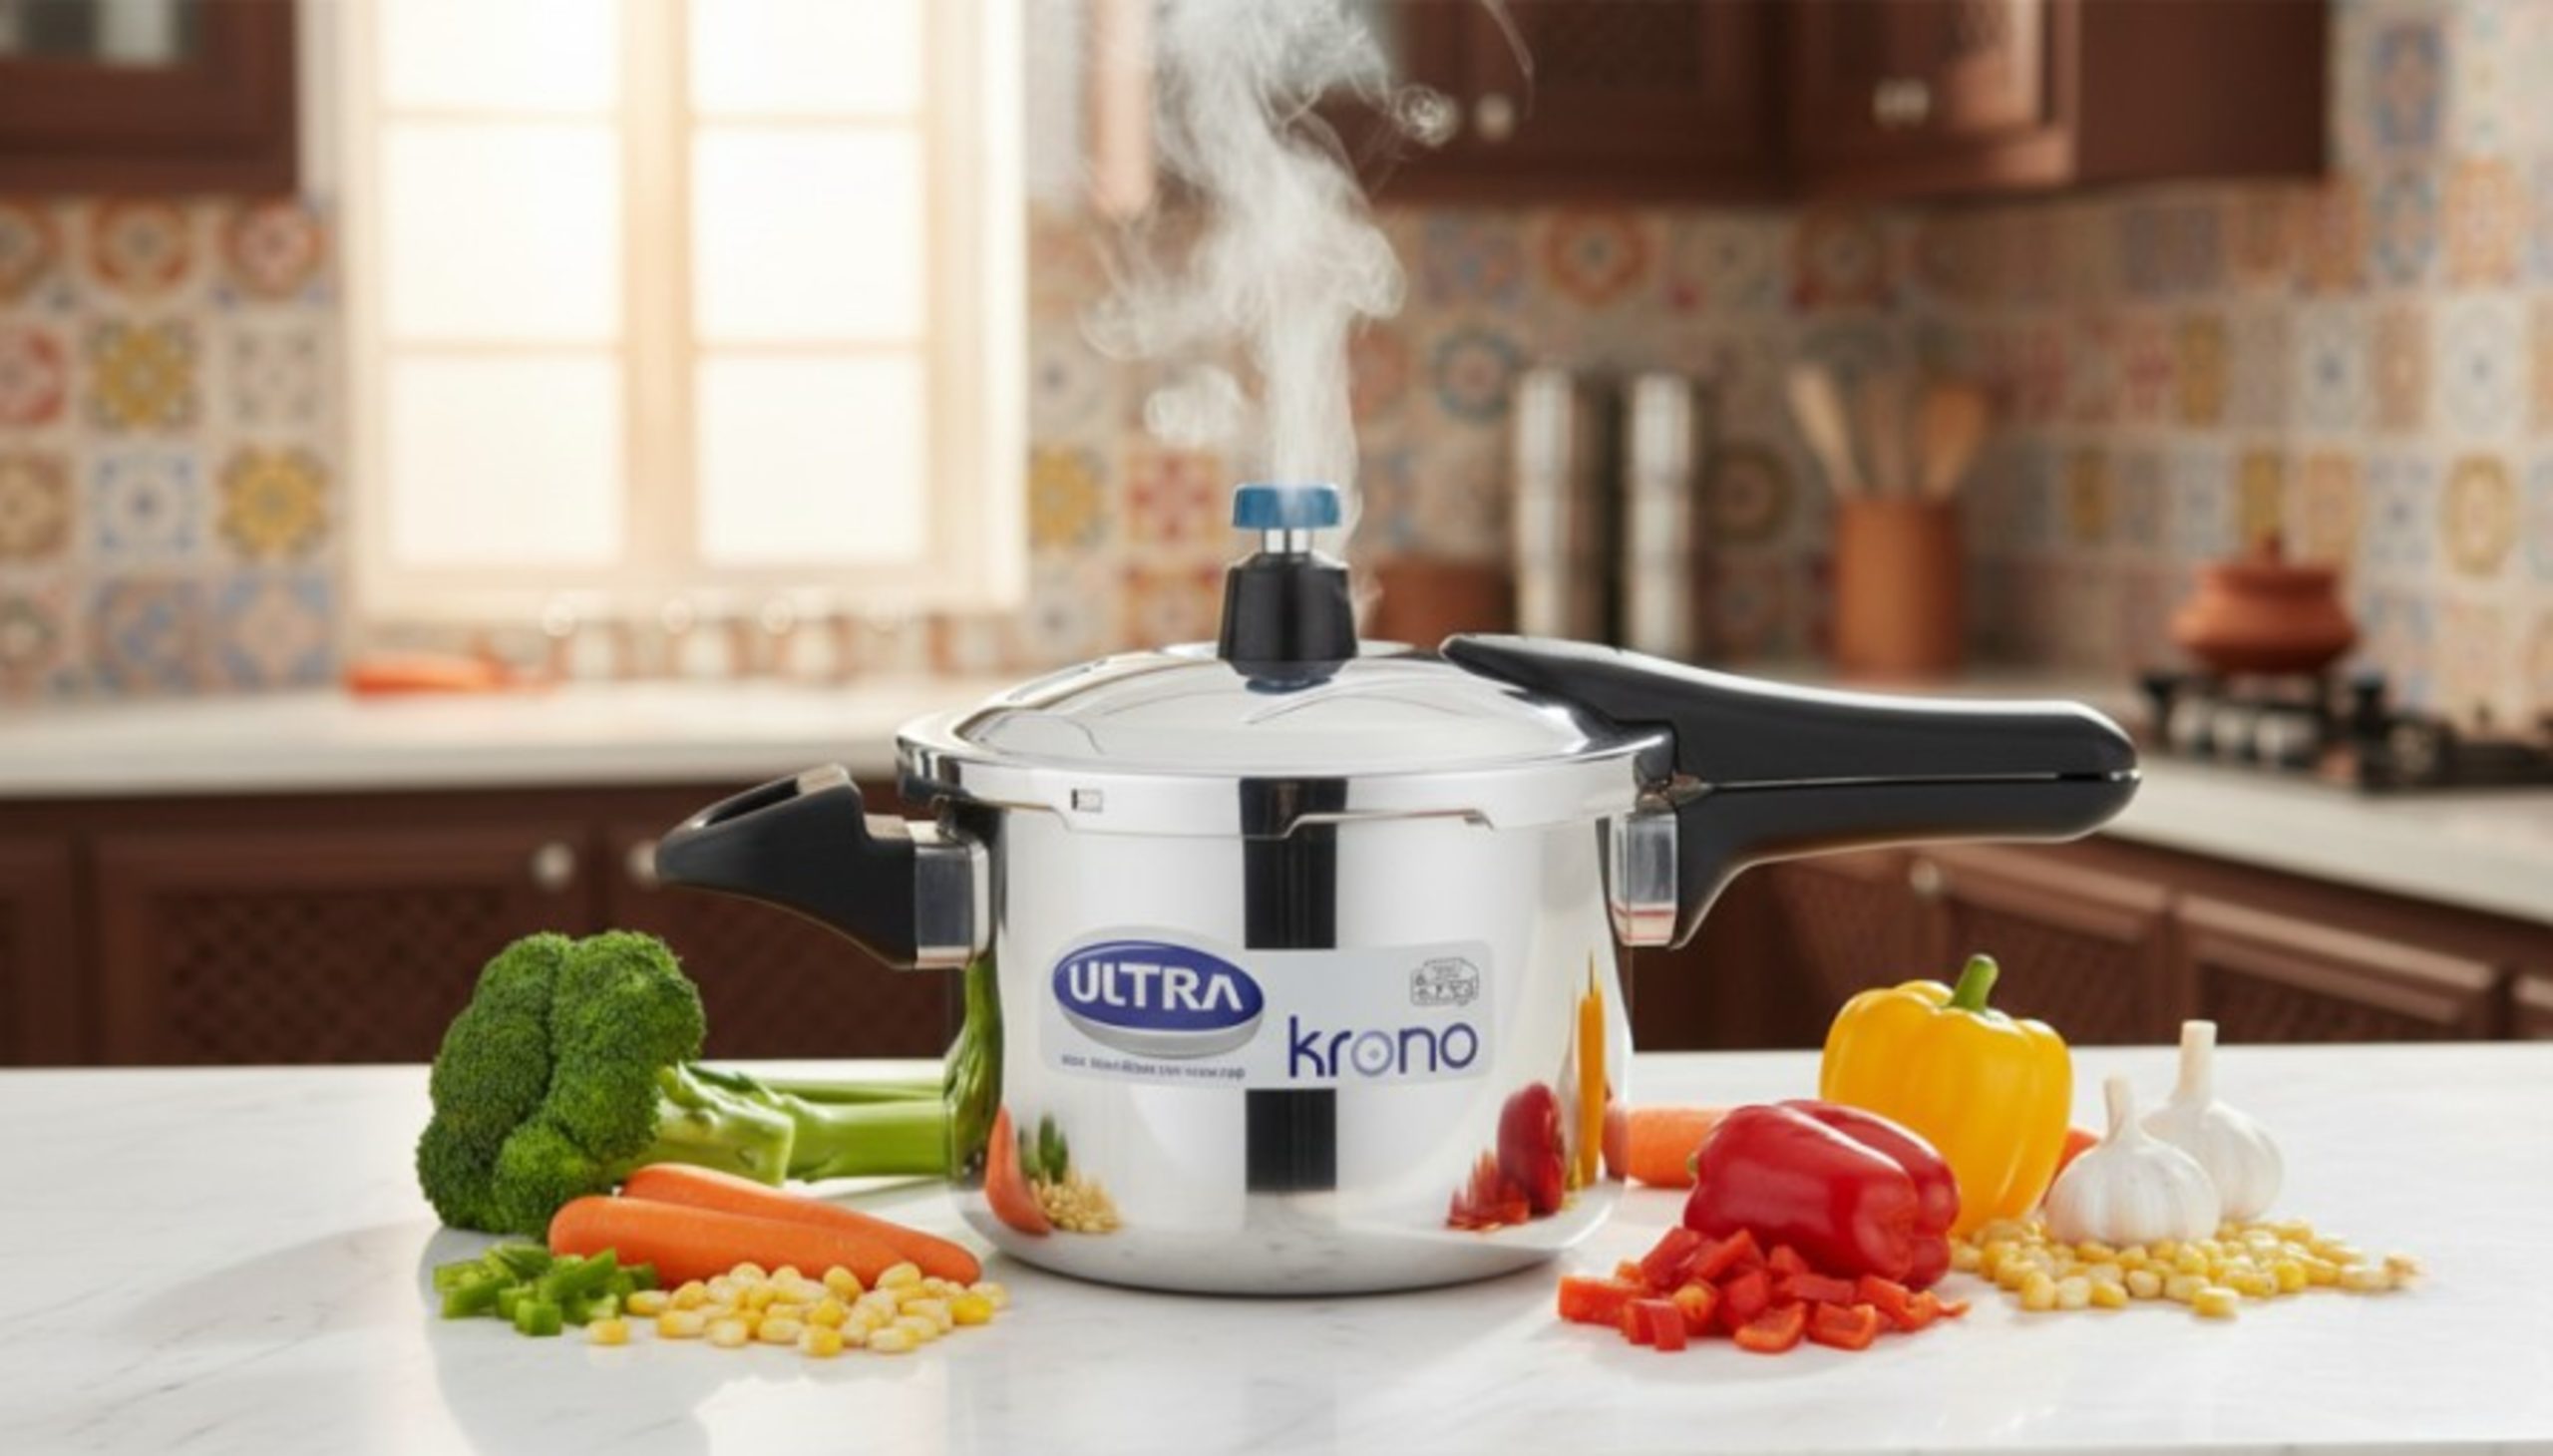
Step 2: Grind Using an Ultra Wet Grinder
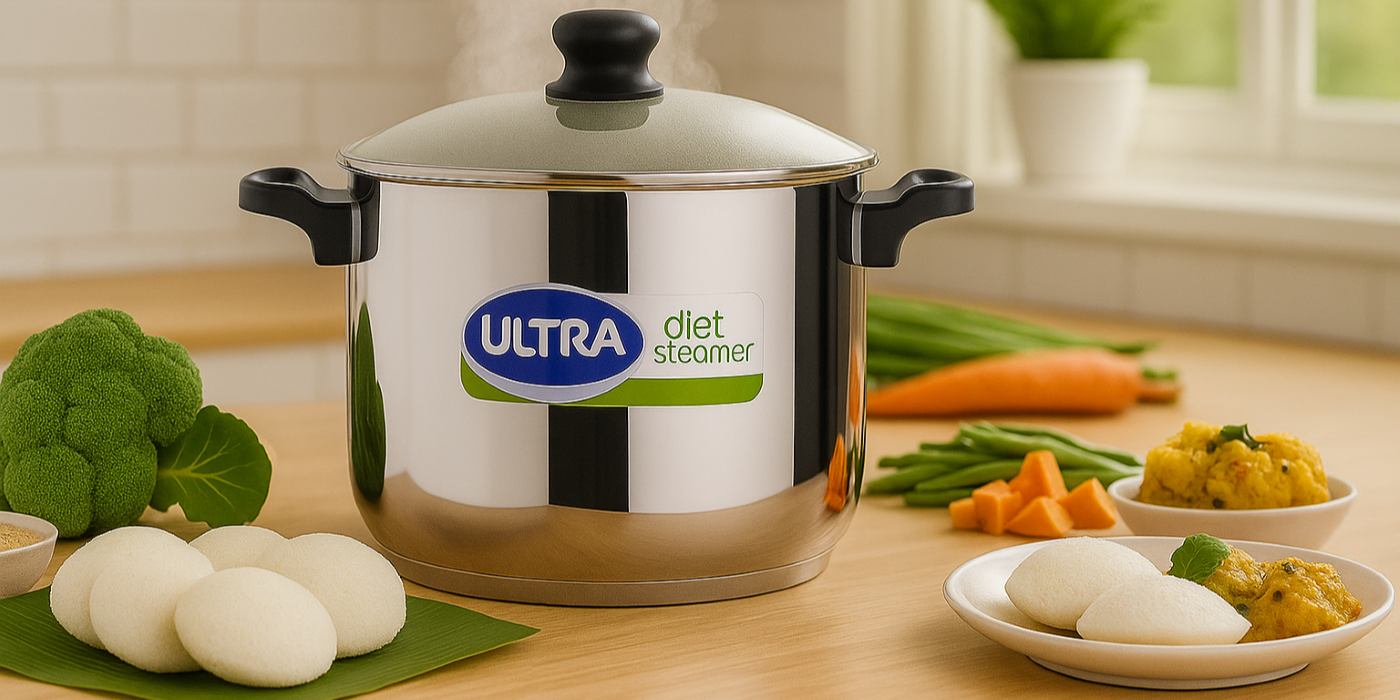
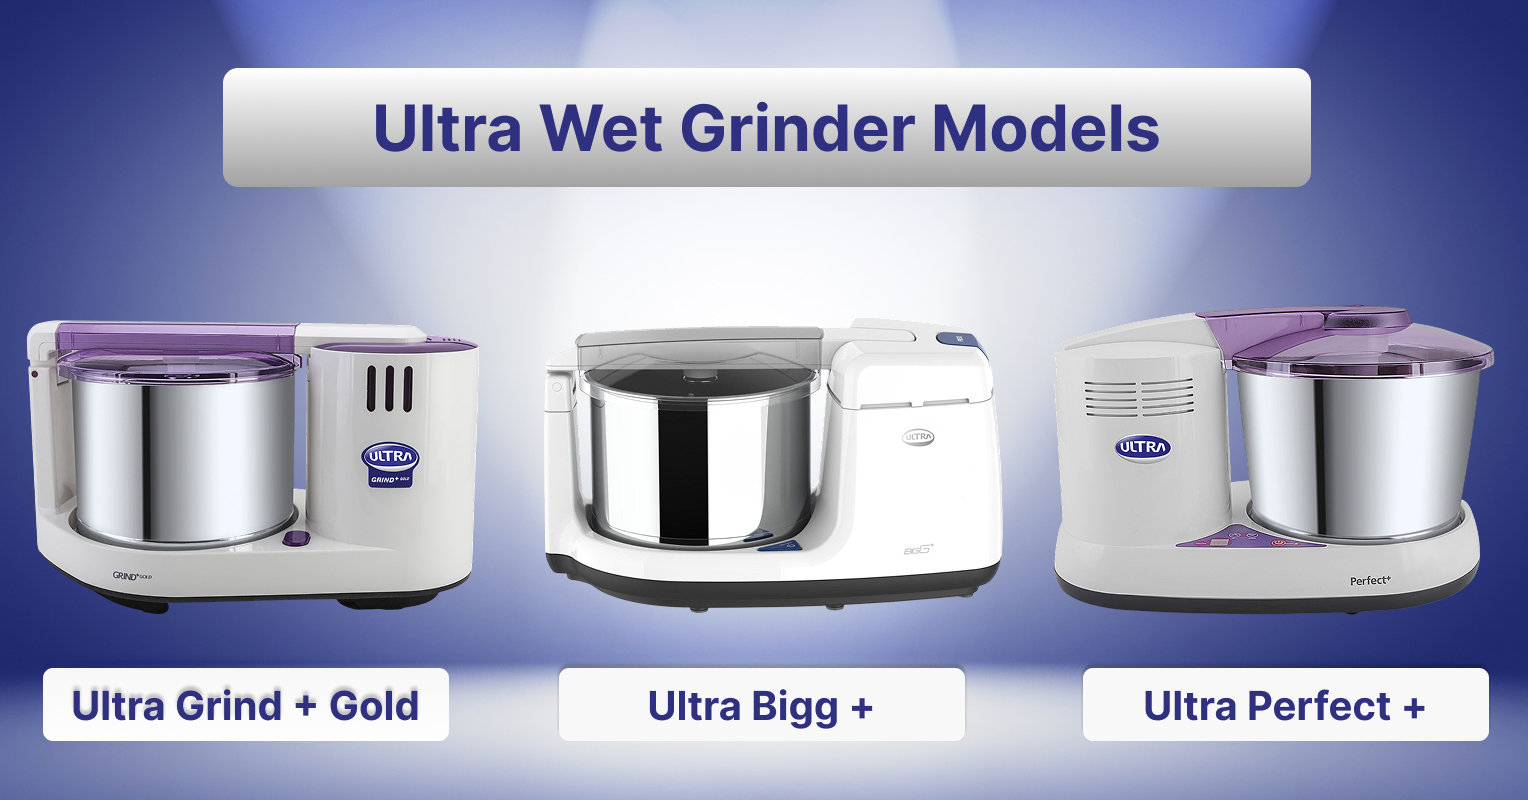
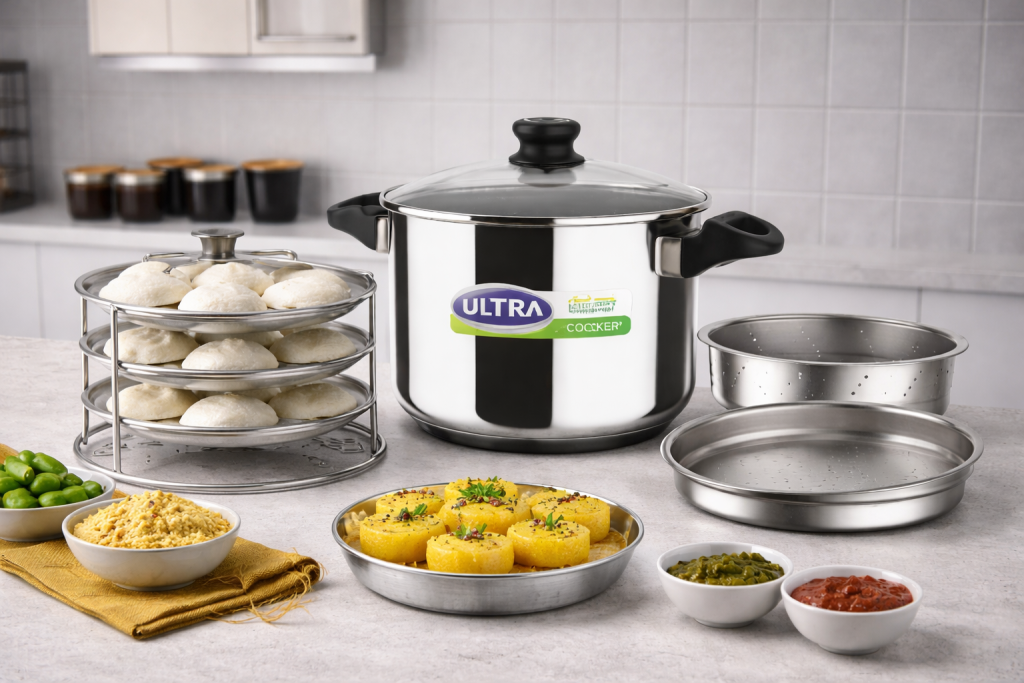
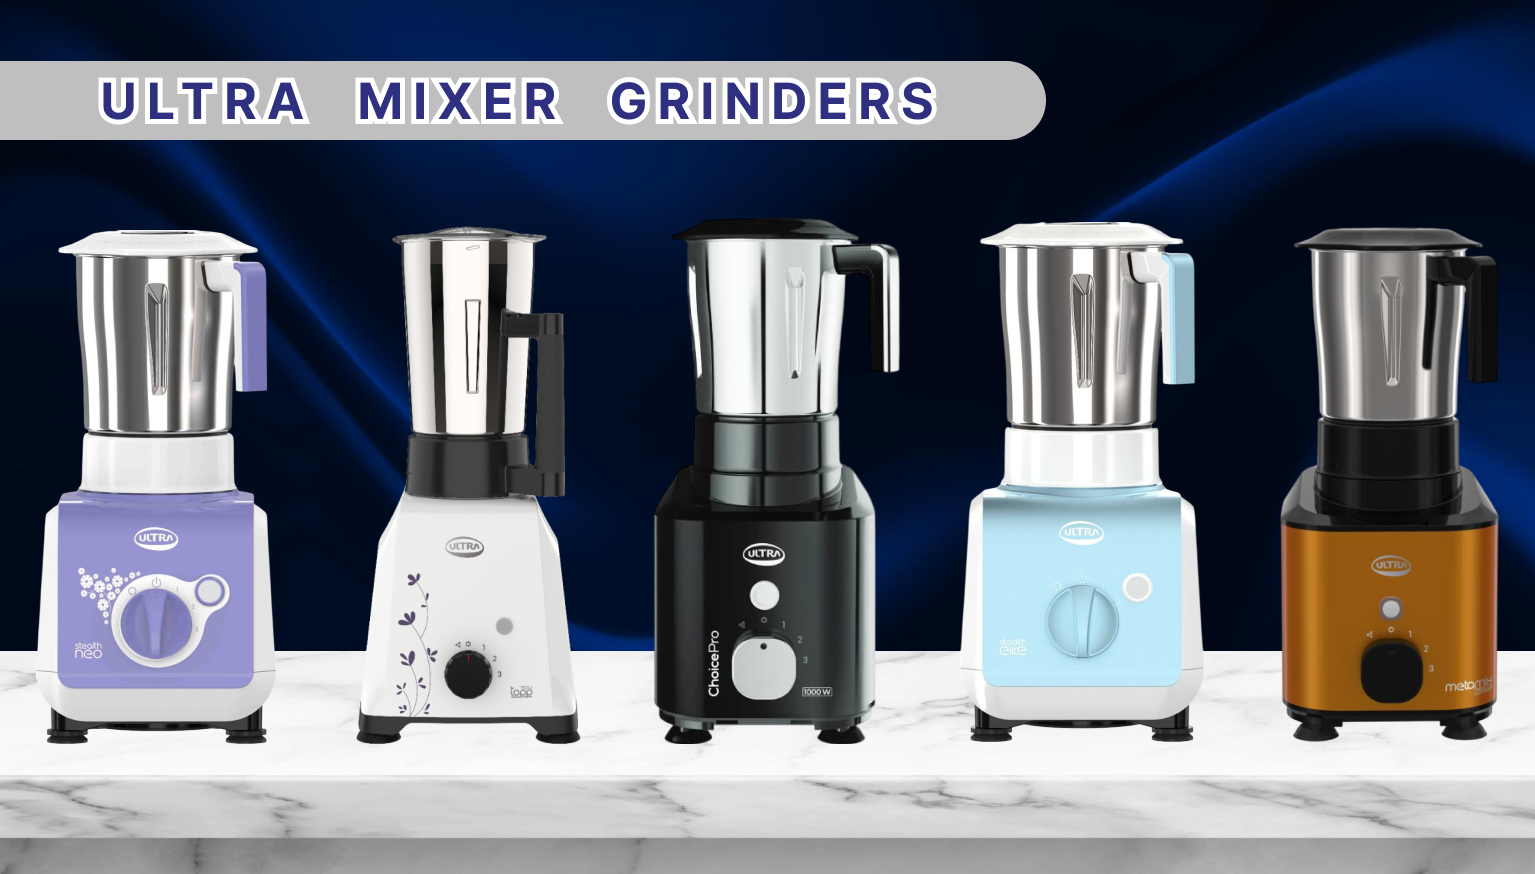
Choose the right Ultra model based on capacity:
- Ultra Grind+ Gold (2L)
https://www.elgiultra.com/products/wet-grinders-all/wet-grinders/grind-gold - Ultra Perfect+ (2L)
https://www.elgiultra.in/wet-grinders/ultra-perfect - Ultra Bigg+ (2.5L)
https://www.elgiultra.in/wet-grinders/ultra-bigg
Grinding Order
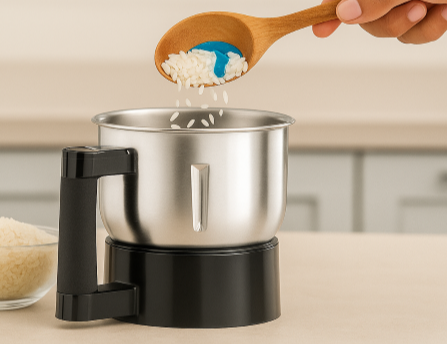
- Grind urad dal first using cold water. Grind for 20 to 30 minutes until fluffy.
- Grind rice next. Slightly coarse texture is acceptable.
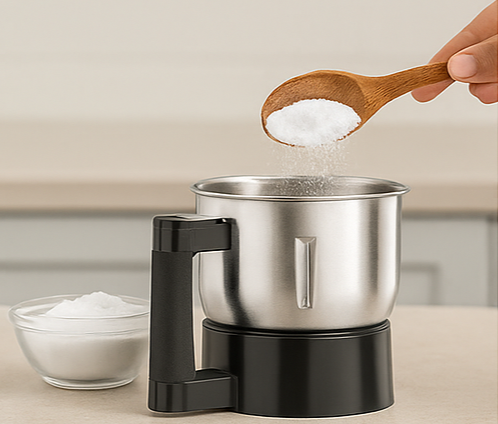
- Mix both batters gently. Add salt after fermentation in colder climates.
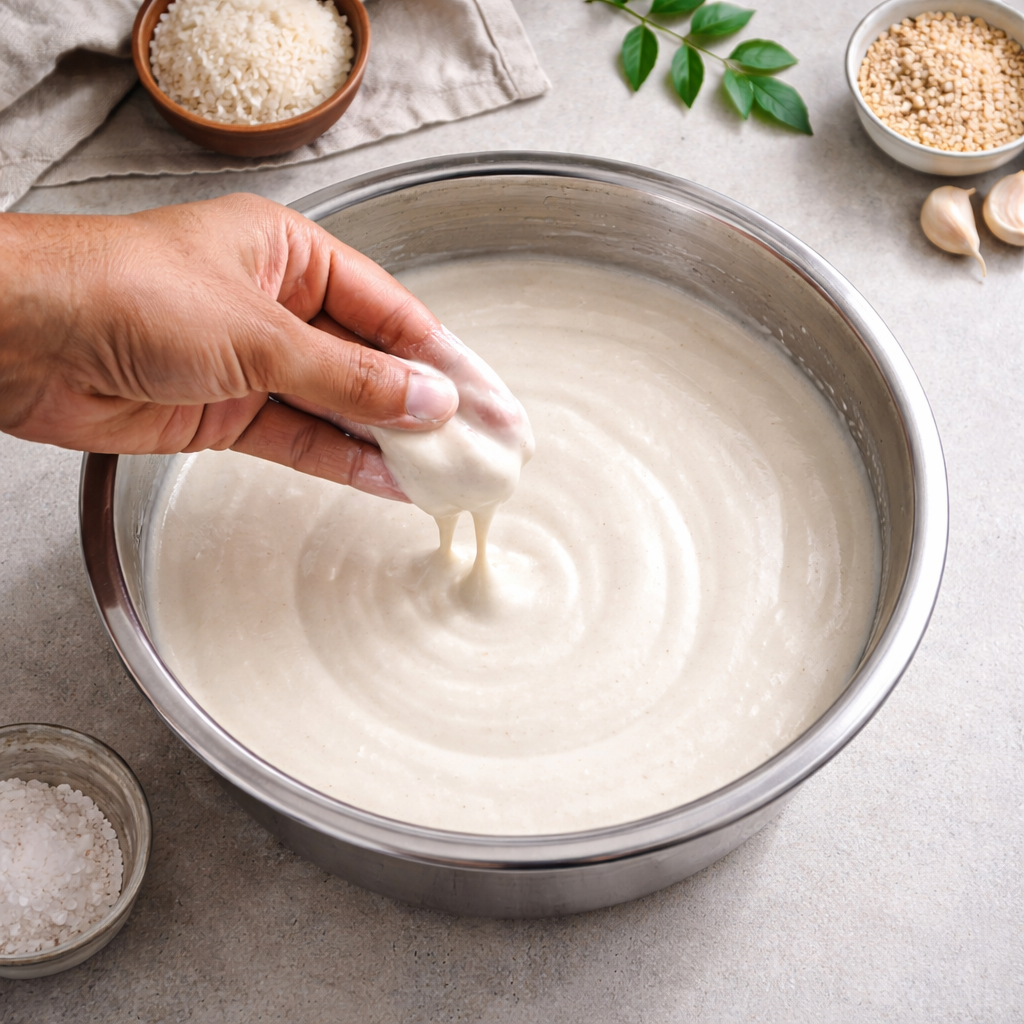
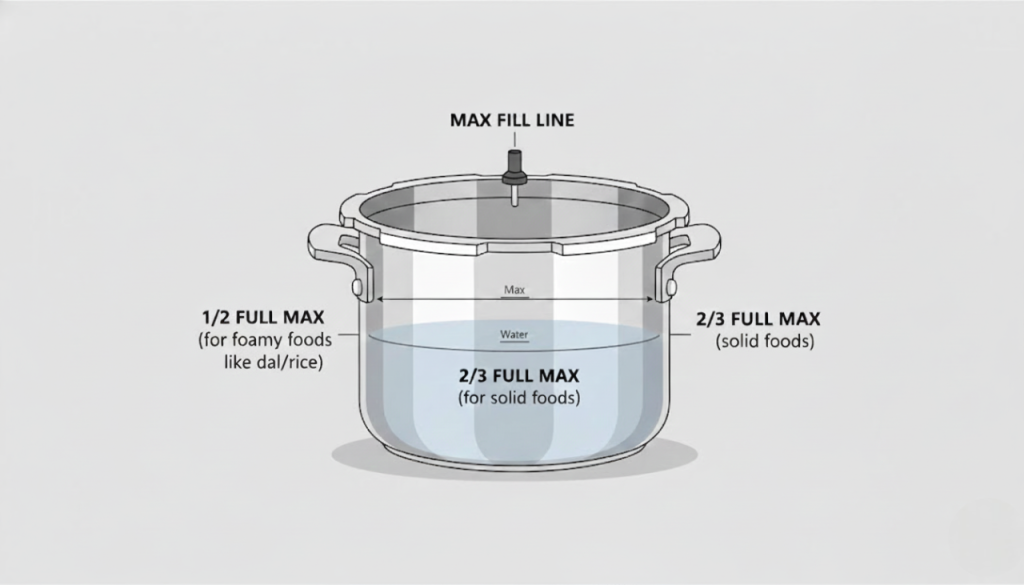
Step 3: Achieve the Right Consistency
- Urad dal batter should be light and airy
- Rice batter should be smooth but slightly grainy
- Combined batter should fall in a thick ribbon consistency
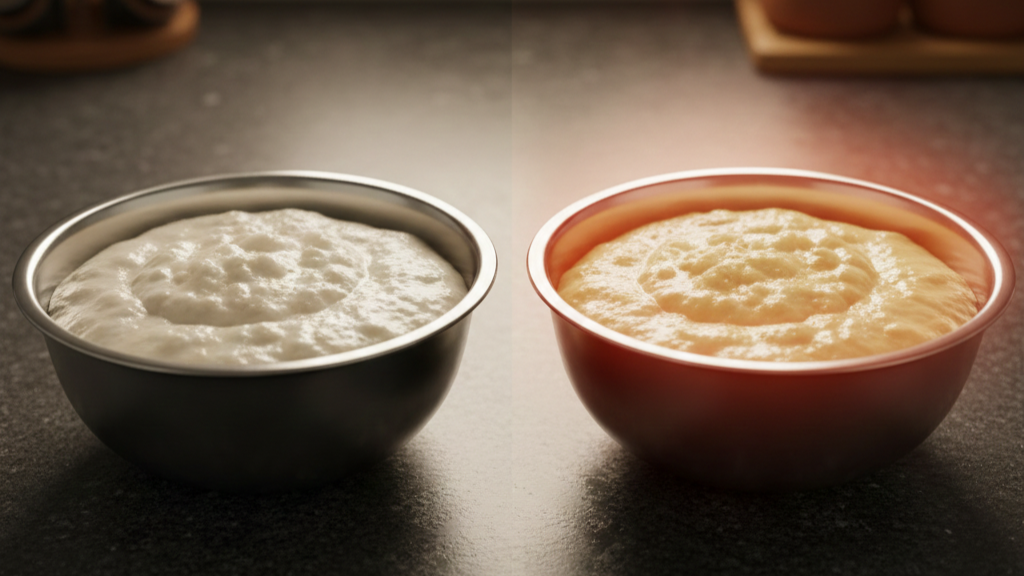
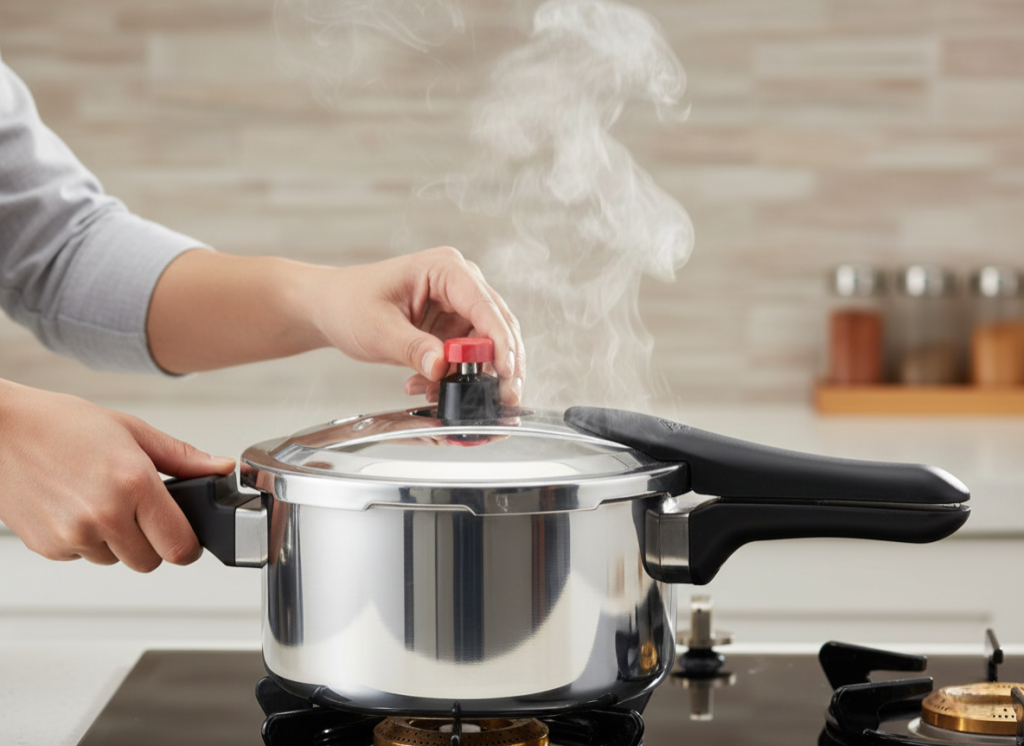
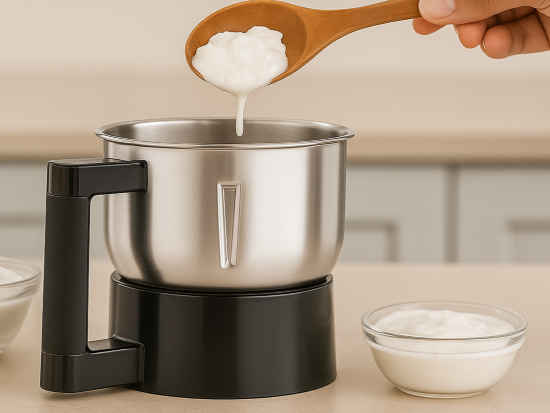
Step 4: Fermentation
Keep the batter in a warm place for 6 to 12 hours.
Signs of proper fermentation:
- Batter rises close to double
- Visible air bubbles
- Mild sour aroma
Ultra’s cool grinding helps retain the natural culture required for fermentation.
Detailed Comparison of Ultra Wet Grinder Models
| Feature |
Ultra Grind+ Gold |
|
Capacity |
2L |
|
Grinding Stone |
Conical |
|
Drum |
Stainless Steel |
|
Ideal For |
Small families |
|
Price Range |
Mid |
|
Link |
| Feature | Ultra Perfect+ |
| Capacity | 2L |
| Grinding Stone | Conical |
| Drum | Stainless Steel with Digital Timer |
| Ideal For | Families needing advanced features |
| Price Range | High |
| Link |
| Feature | Ultra Bigg+ |
| Capacity | 2.5L |
| Grinding Stone | Conical |
| Drum | Stainless Steel |
| Ideal For | Large families |
| Price Range | Mid-high |
| Link |
Model Recommendation
- 1 to 4 members: Ultra Grind+ Gold
- Regular use with timer preference: Ultra Perfect+
- Larger families or batch grinding: Ultra Bigg+
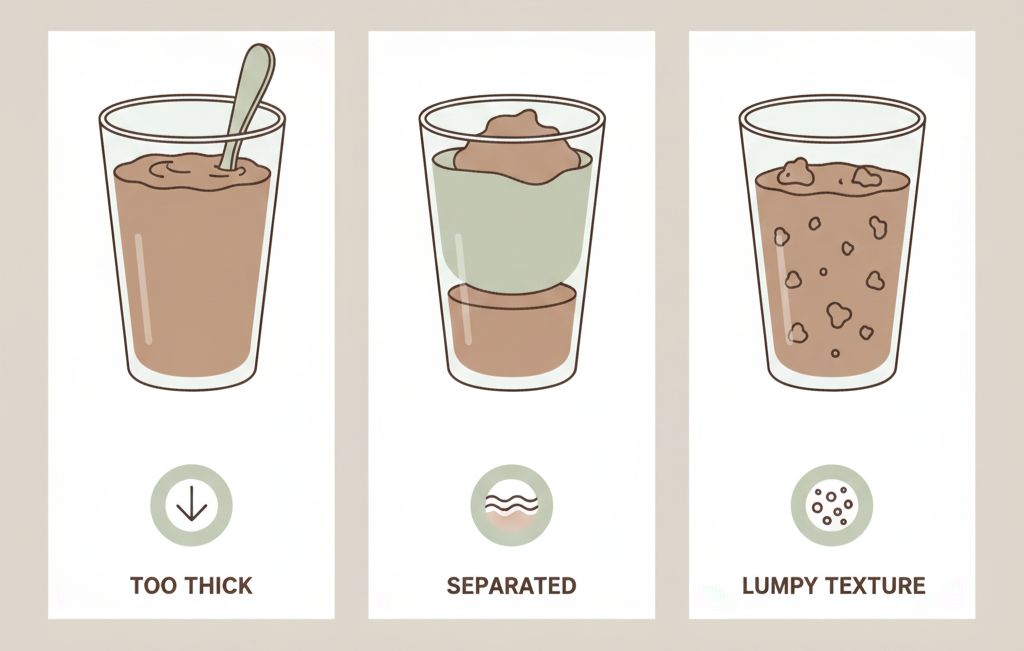
Troubleshooting Batter Issues
Batter Does Not Ferment
Solutions:
- Use cold water during grinding
- Keep batter in a warm spot
- Add 1/2 tsp sugar
- Avoid adding salt before fermentation
Batter Becomes Watery
Solutions:
- Add rice flour
- Reduce water while grinding next time
Batter is Too Coarse
Solutions:
- Grind rice longer
- Ensure proper soaking
Idlis Turn Hard
Solutions:
- Add poha while soaking
- Grind dal longer
- Reduce urad dal slightly
Dosas Are Not Crispy
Solutions:
- Thin the batter slightly
- Ensure tawa is hot
- Mix batter well before use
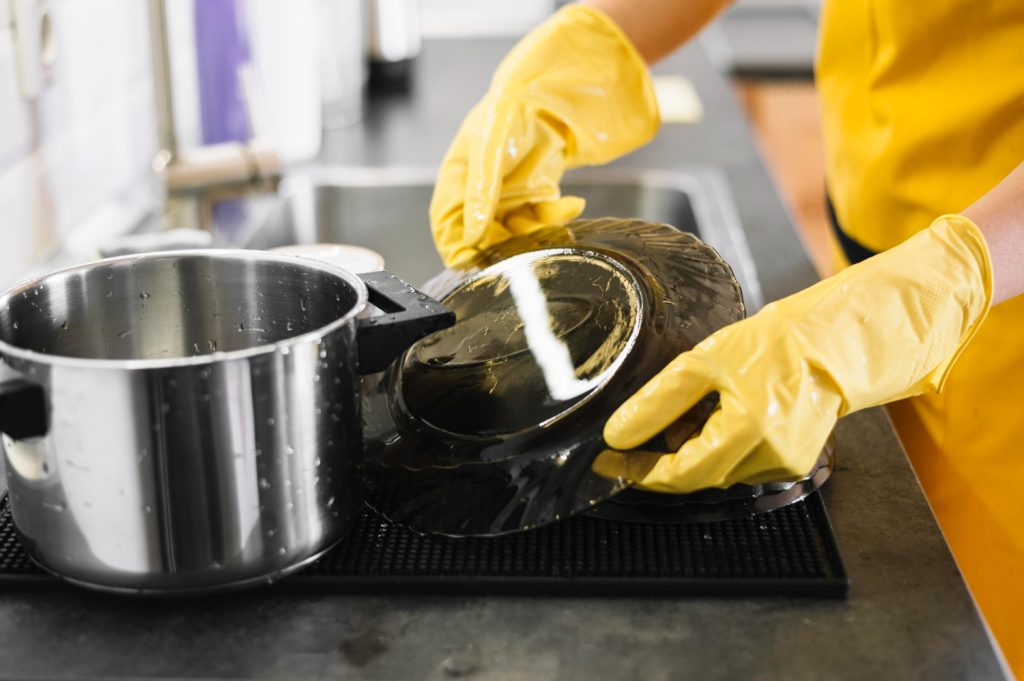
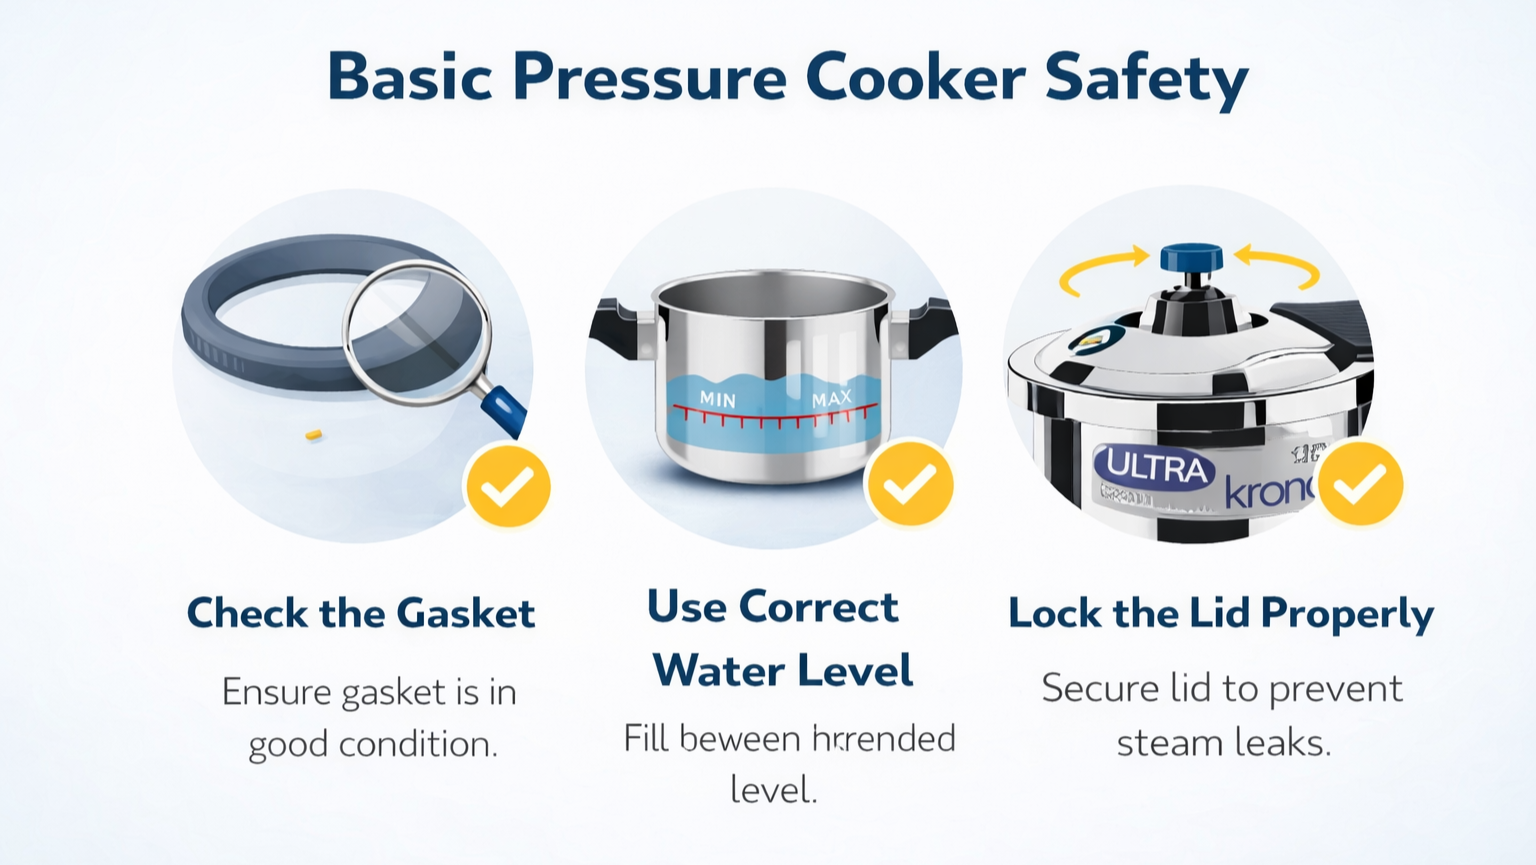
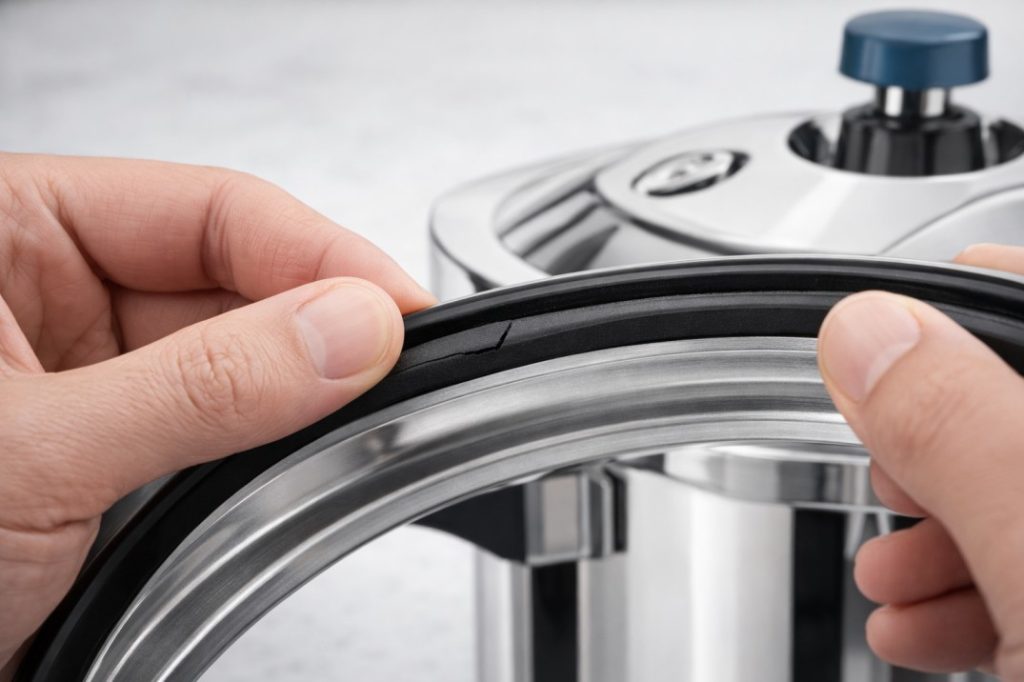
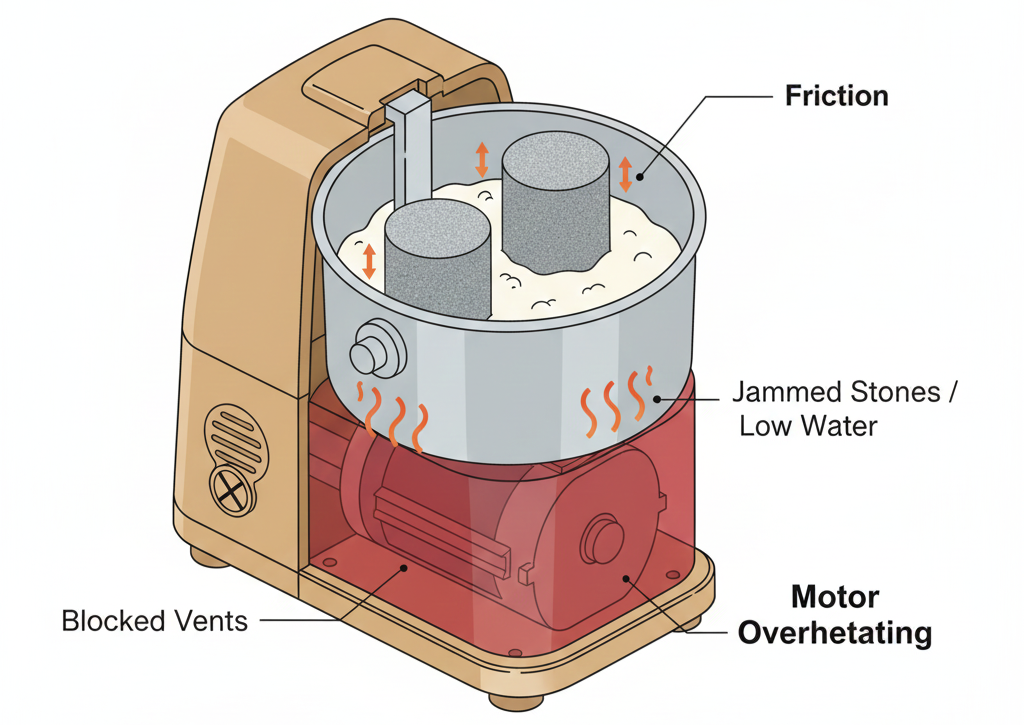
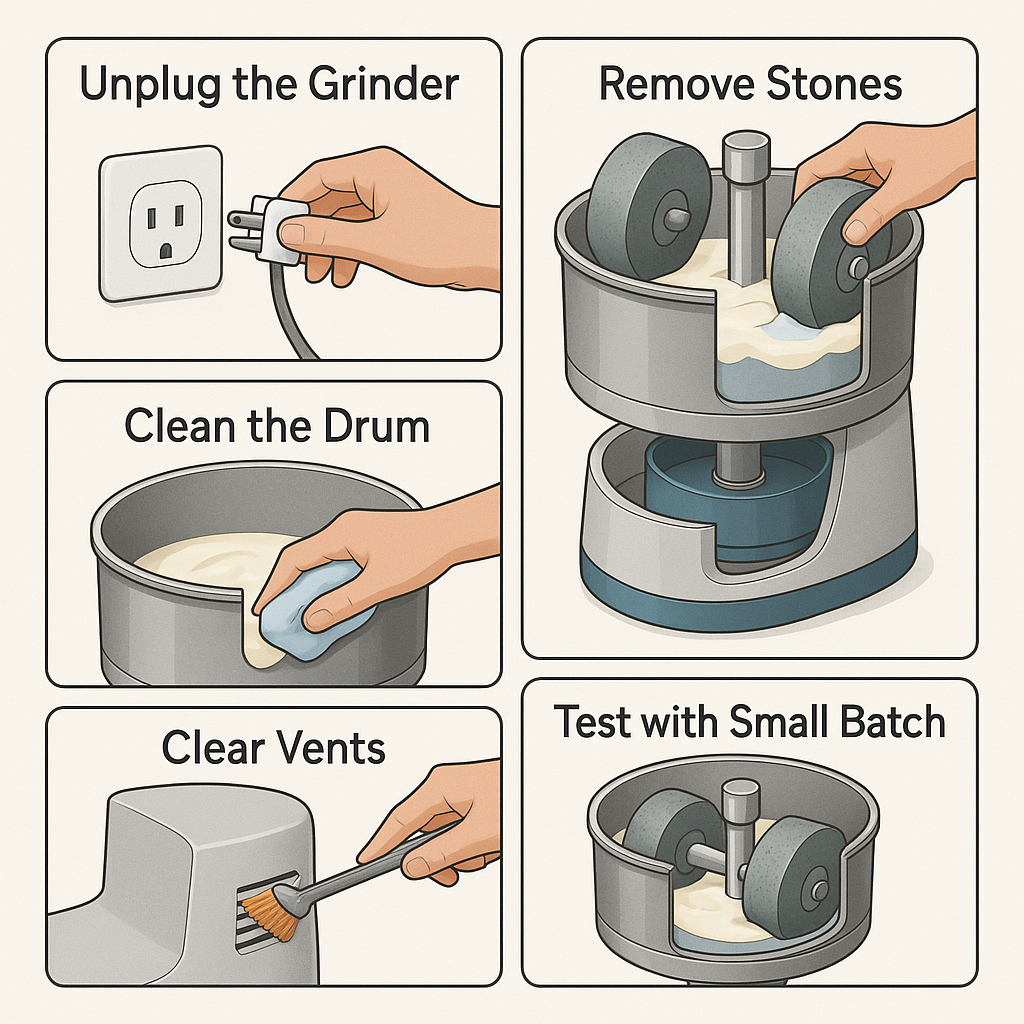
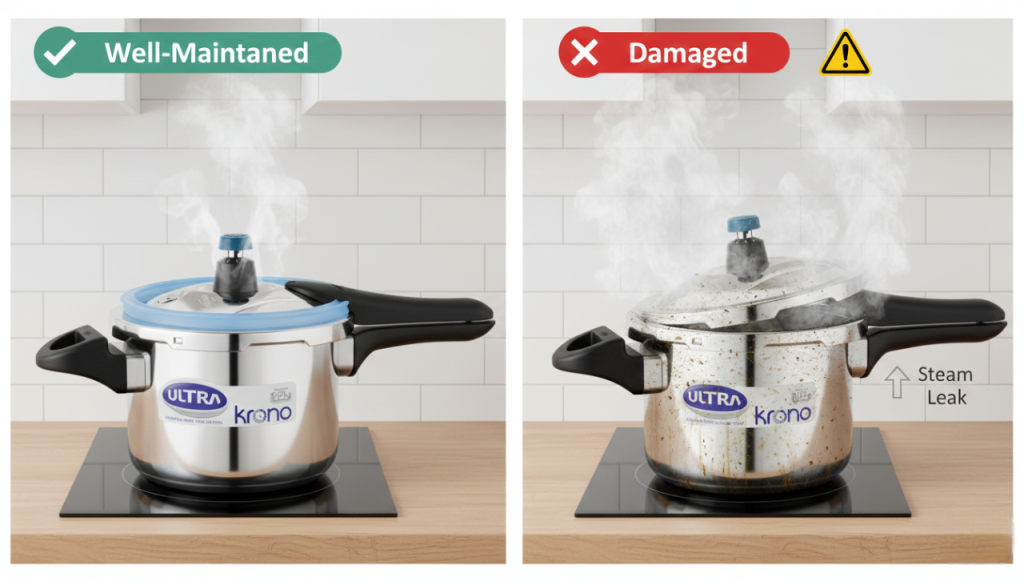
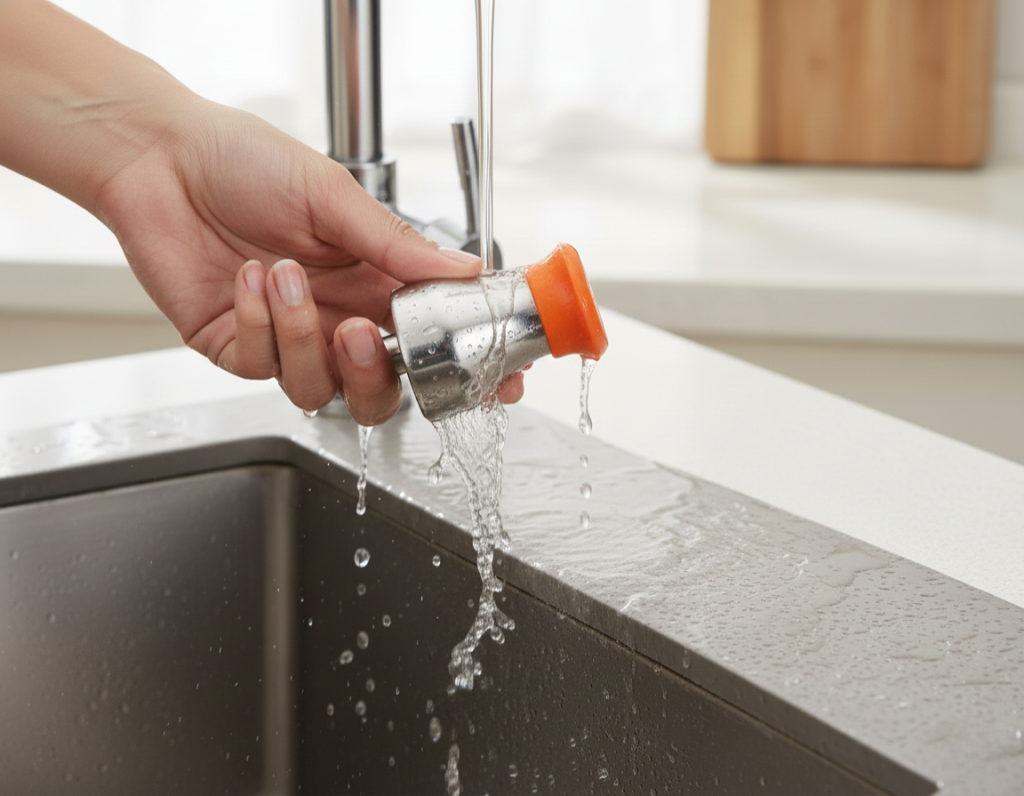
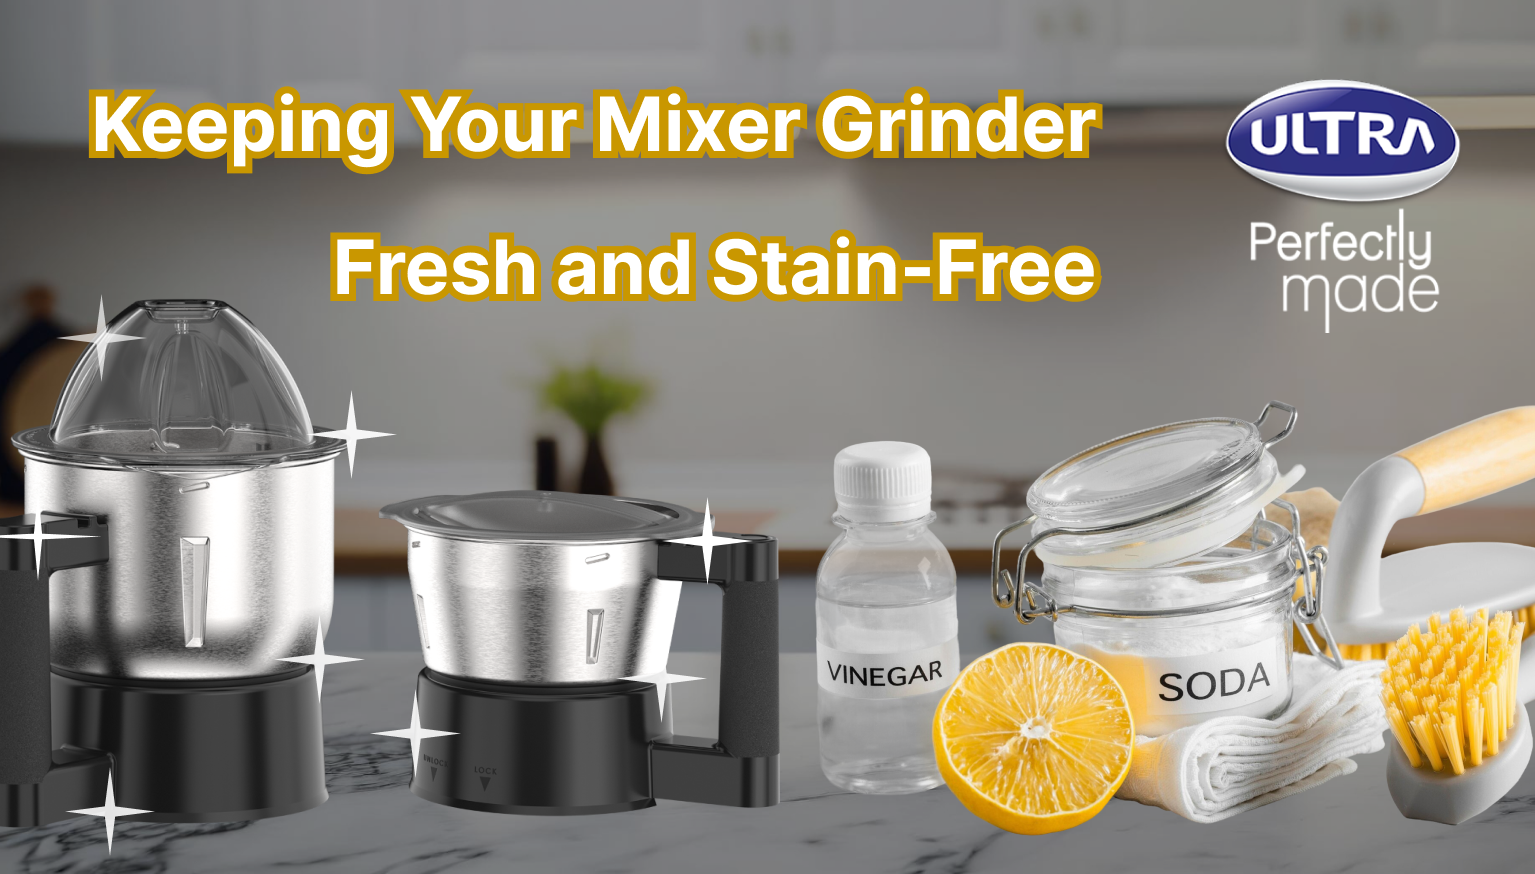
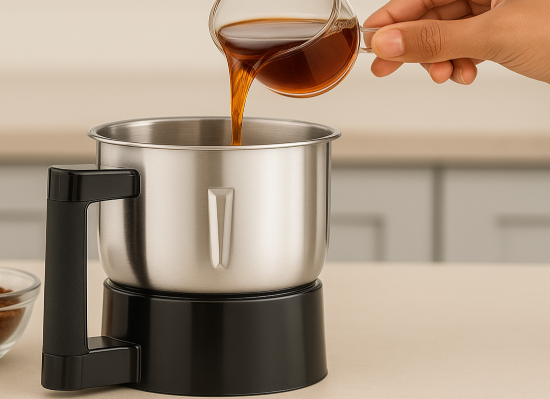
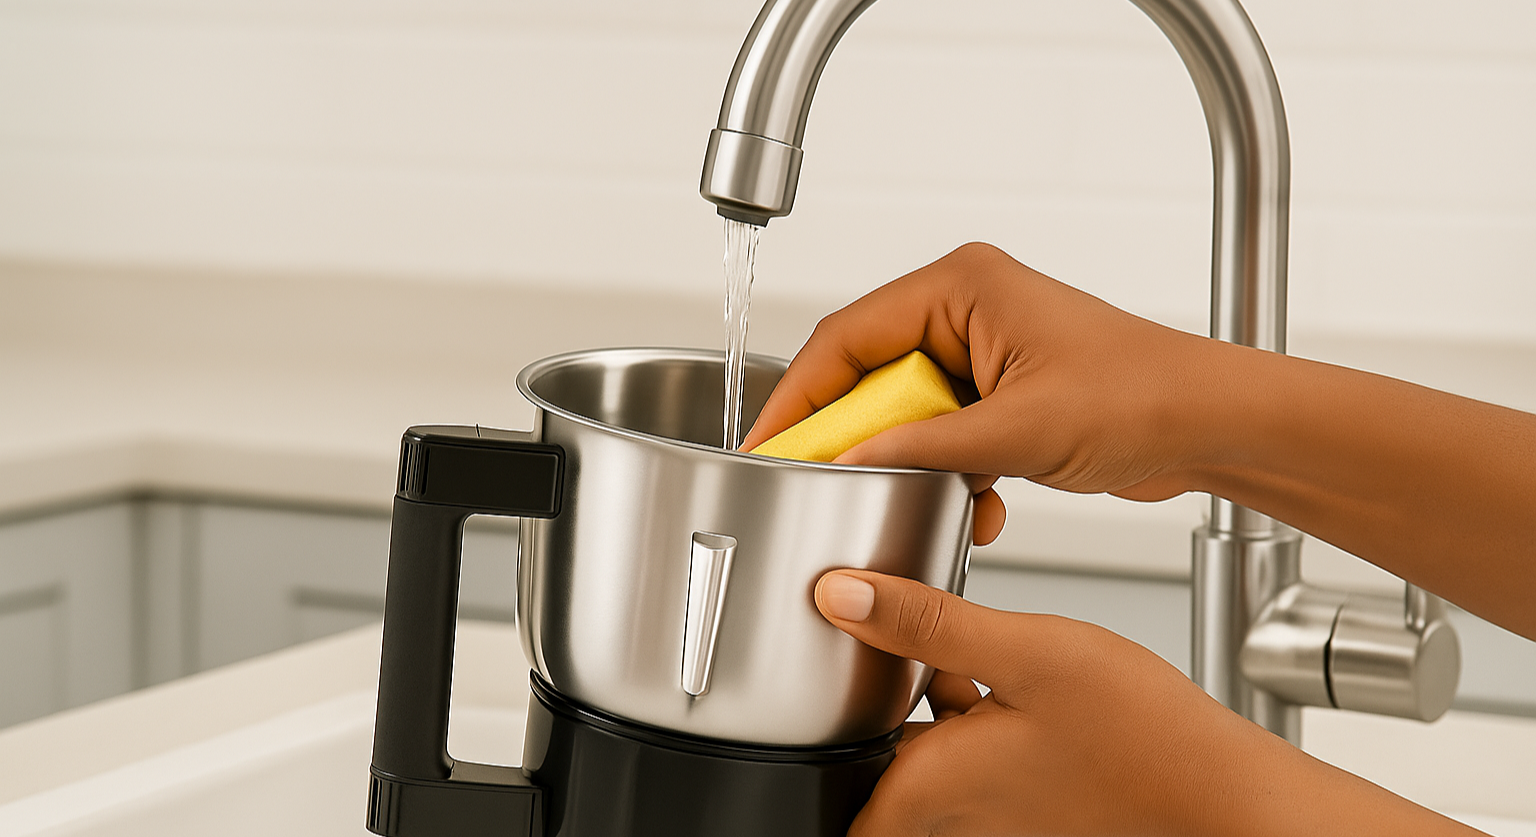
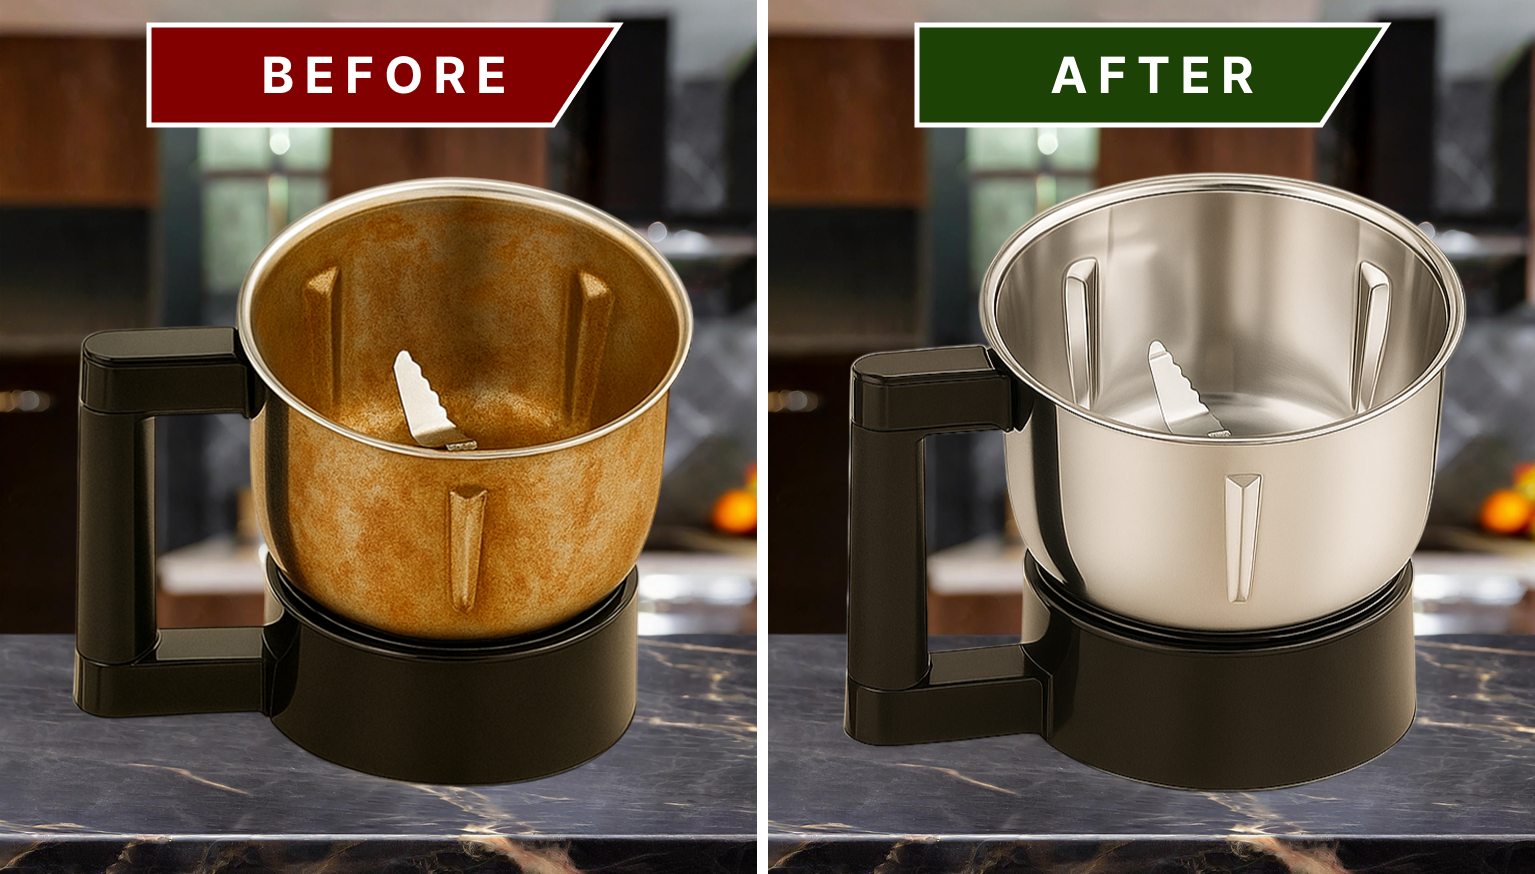
Long-Term Maintenance and Care
- Clean the grinder immediately after use
- Avoid abrasive scrubbers
- Check stones for wear occasionally
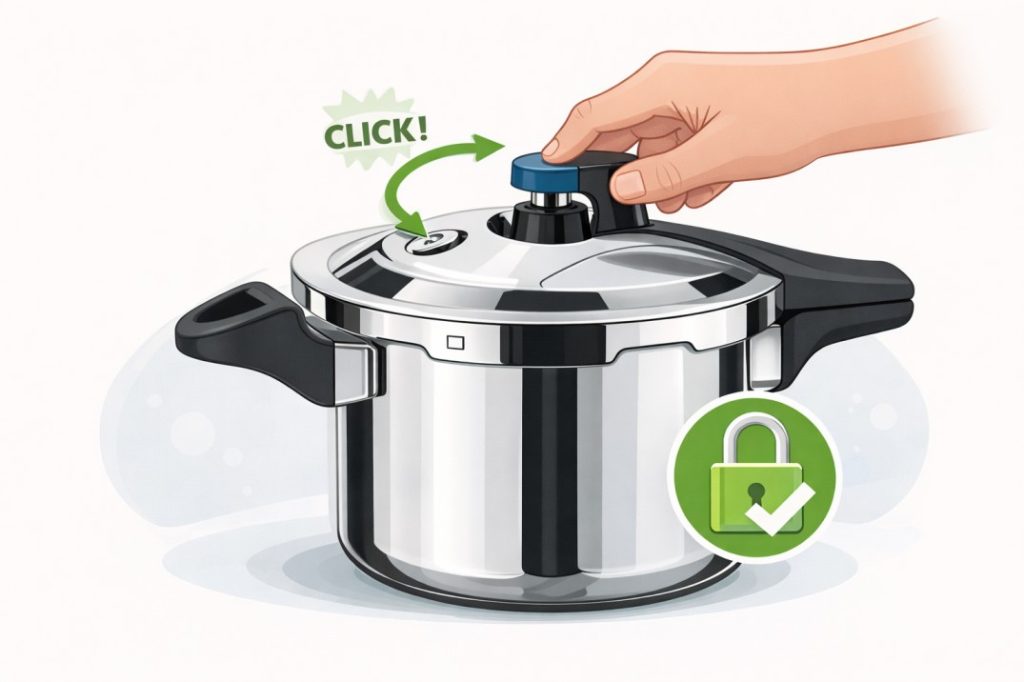
- Never overload the grinder
- Do not run the grinder empty
- Store in a dry and dust-free location
Frequently Asked Questions
Can I grind dry ingredients in a wet grinder?
No. Use a mixer grinder instead:
https://www.elgiultra.in/mixer-grinders
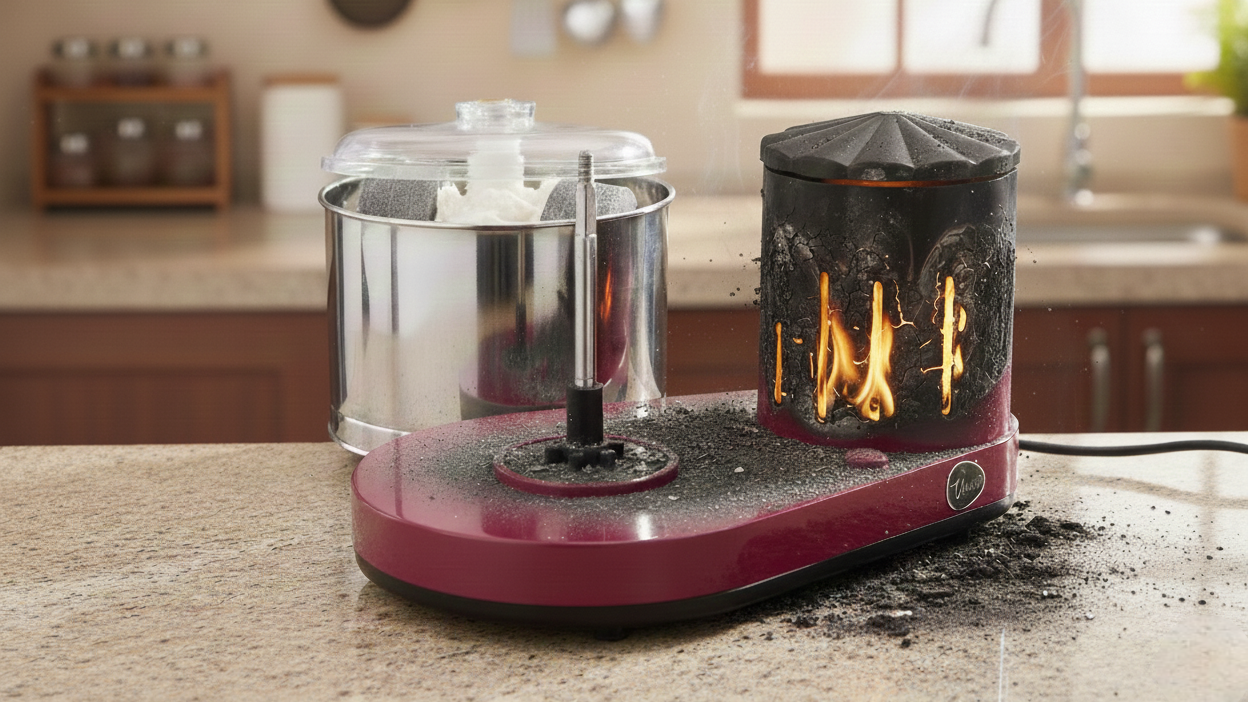
Why does the batter heat up?
Use ice-cold water and reduce the load.
What spatula should I use?
Wooden or silicone spatulas are recommended.
Can I refrigerate batter immediately?
Refrigerate after fermentation.
Which model is best for hotels?
Ultra Bigg+ (2.5L).
Additional FAQs remain the same as earlier.
Chef-Recommended Tips for Perfect Batter
- Use ice-cold water for fluffier dal
- Maintain the grinding order: dal first, rice second
- Grind dal longer for soft idlis
- Add poha for enhanced softness
- Mix batter with your hands to activate natural cultures
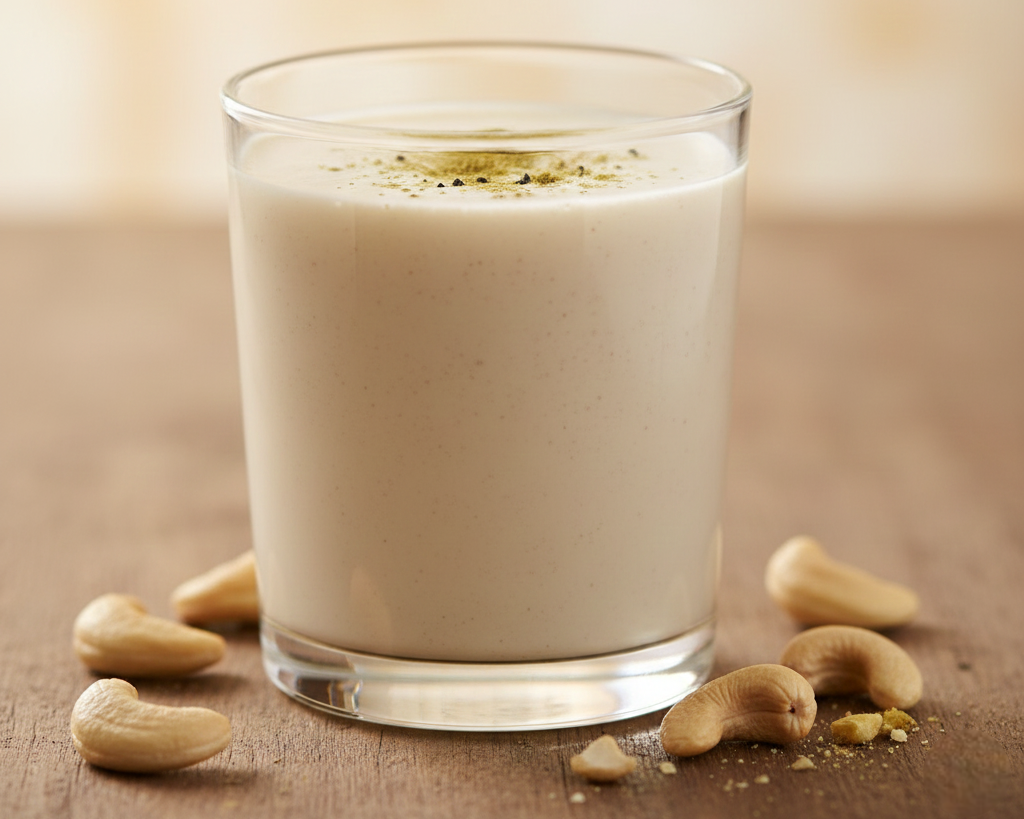
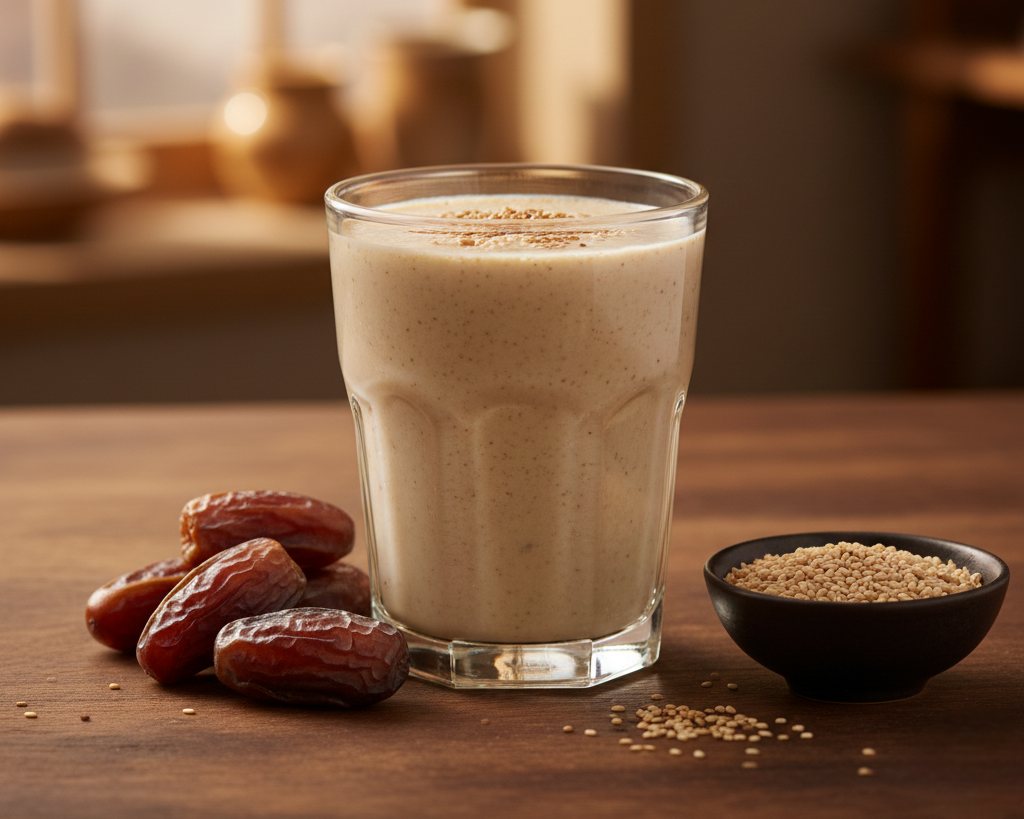
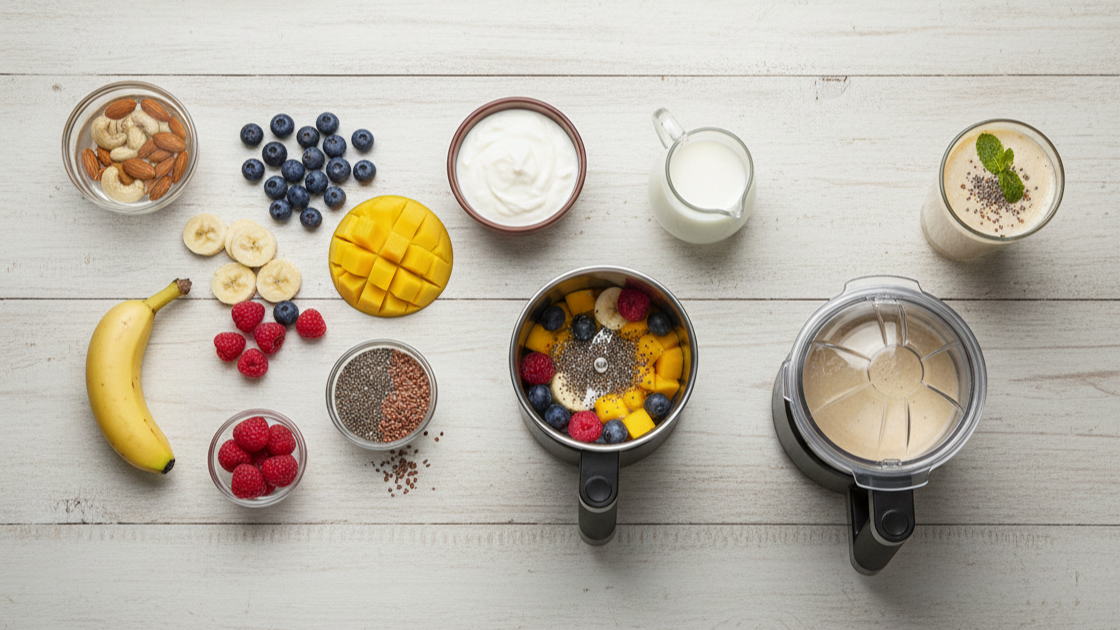
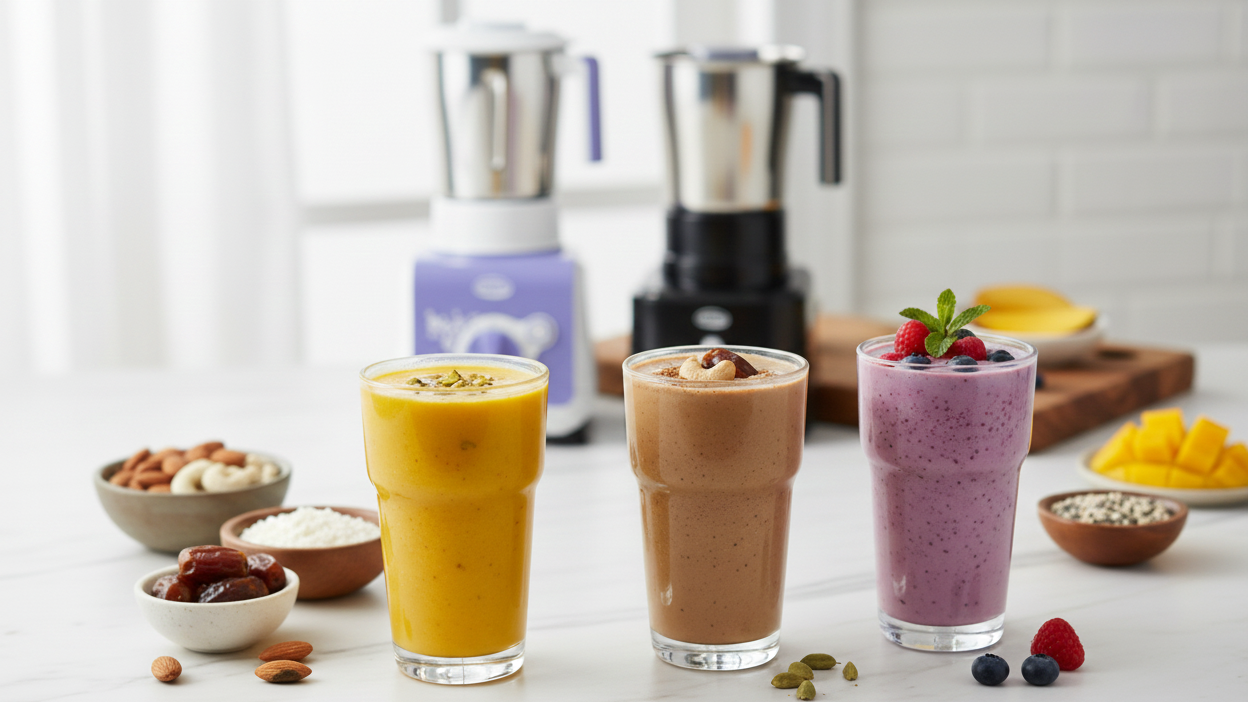
Recipes Best Suited for Ultra Wet Grinders
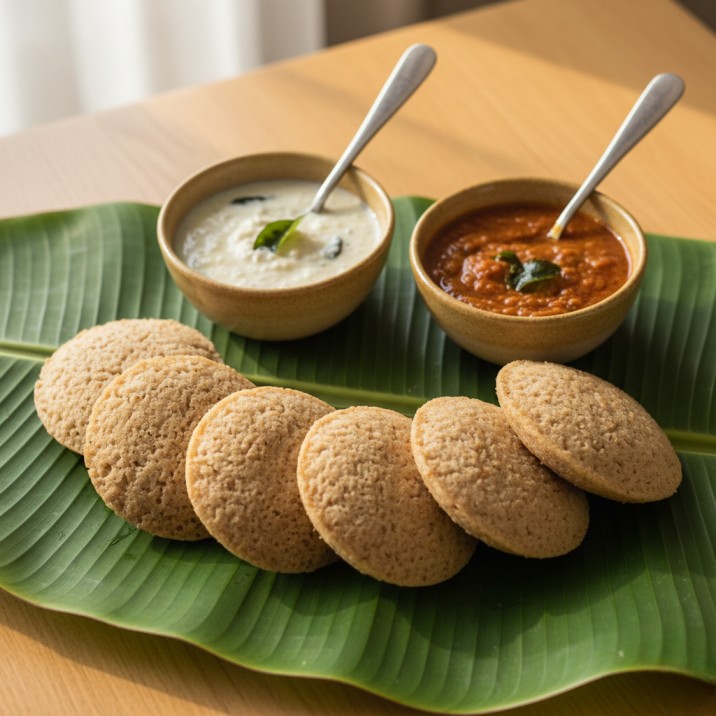
Classic Idli
Soft and fluffy results with perfectly fermented batter.
Crispy Dosa
Thin, crisp dosas require correct fermentation and consistency.
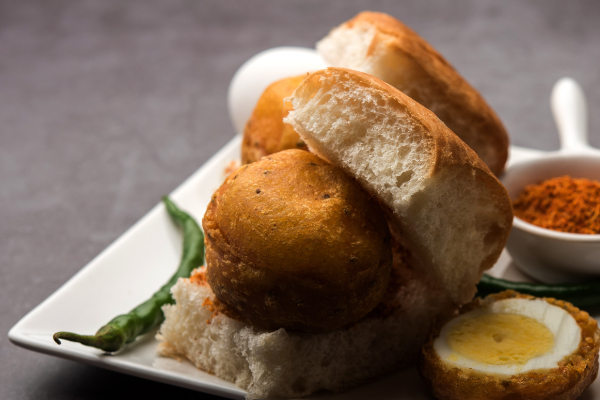
Medu Vada
Urad dal ground in Ultra grinders becomes airy and perfect for vadas.
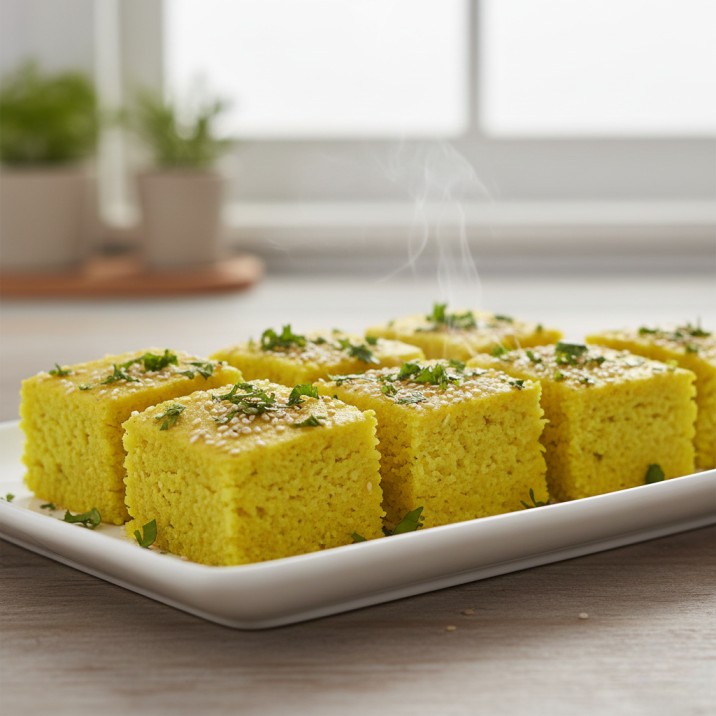
Paniyaram
Uses mildly fermented dosa batter.
Adai
A coarse lentil-rice mix grinds ideally in stone grinders.

SUMMARY OF DOS AND DON’Ts
Dos
- Soak ingredients properly
- Add water gradually
- Use cold water
- Grind in batches
- Clean immediately
- Follow grinding times
Don’ts
- Avoid grinding dry ingredients
- Avoid overloading
- Do not run the grinder empty
- Avoid harsh cleaners
- Avoid frequent interruptions
Final Note
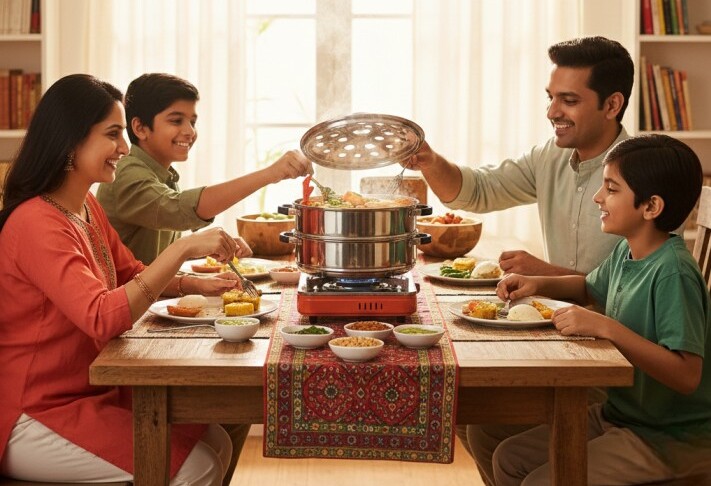
A wet grinder is more than a kitchen appliance. It is the foundation of authentic South Indian cooking. With the right practices and a reliable appliance like the Ultra Wet Grinder, you can enjoy smooth, perfectly fermented batter and consistently excellent idlis, dosas and vadas.
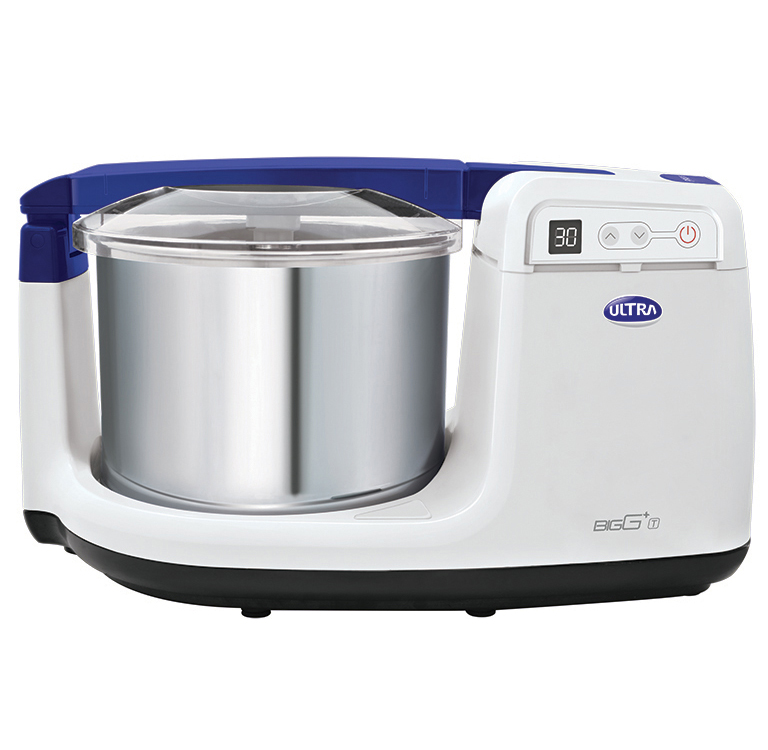
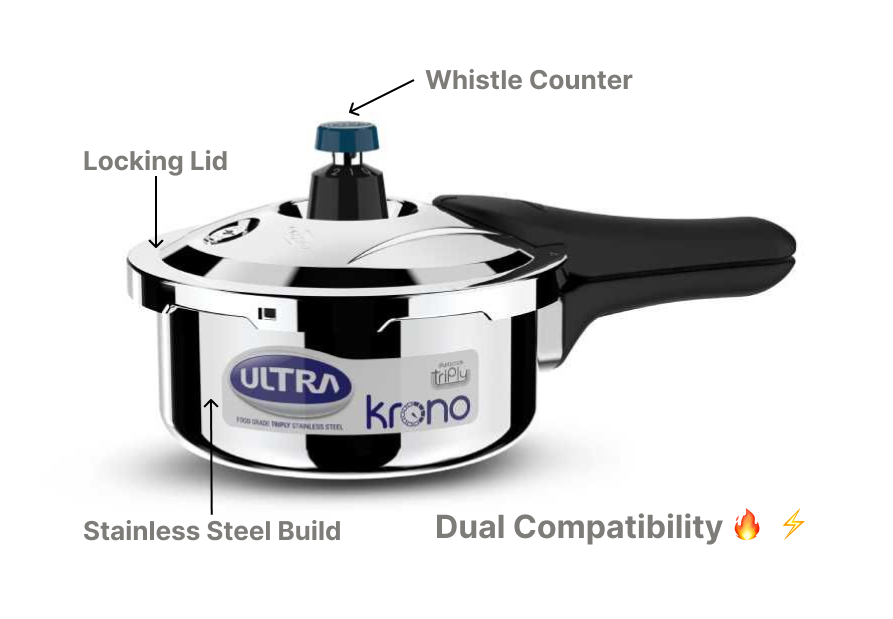
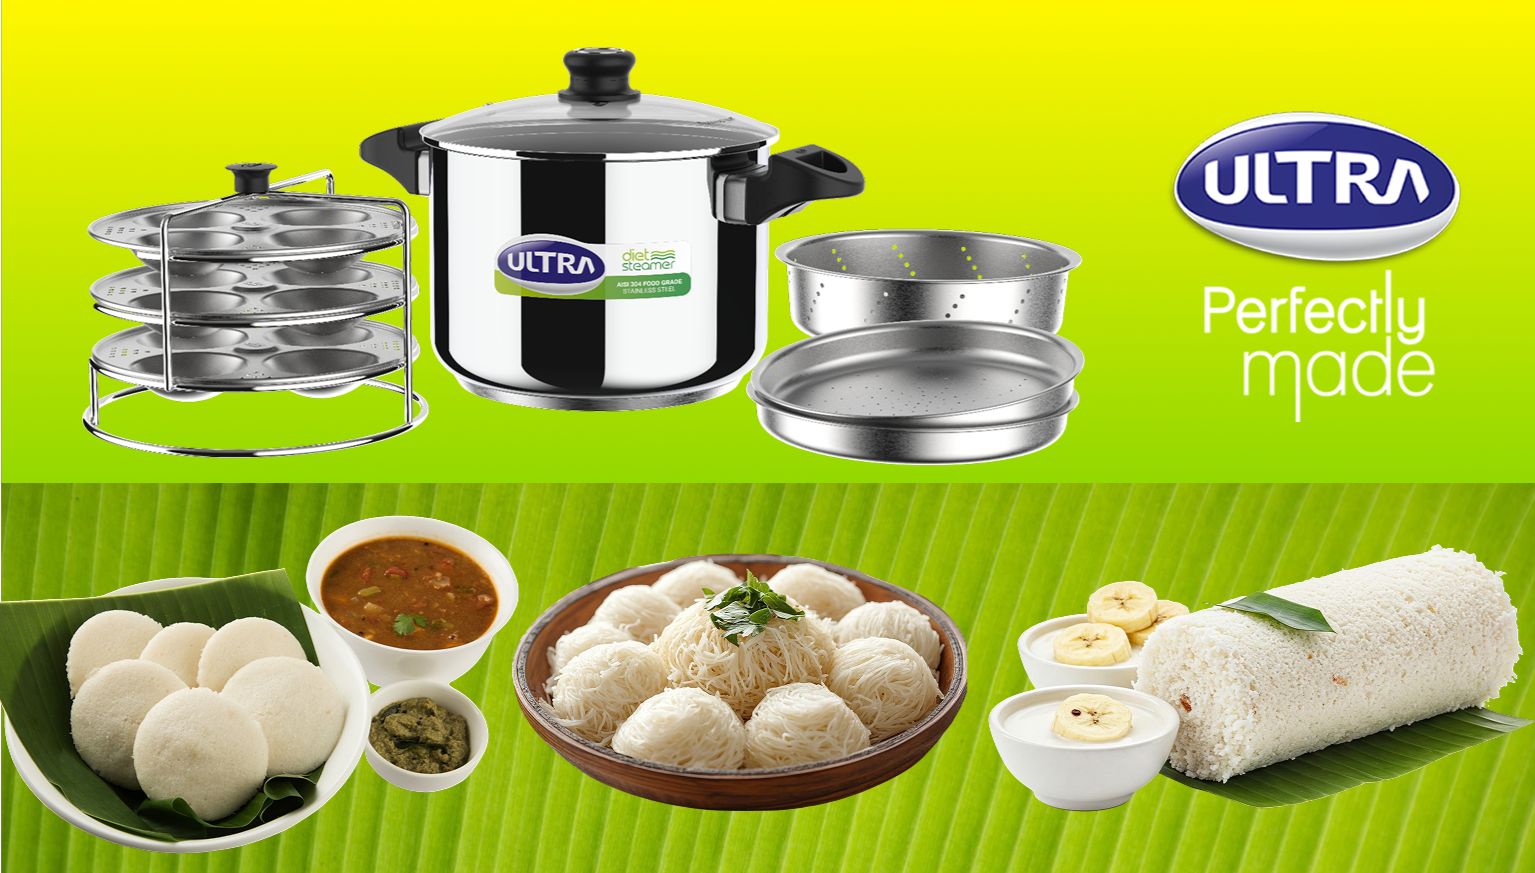
Elgi Ultra Grinder
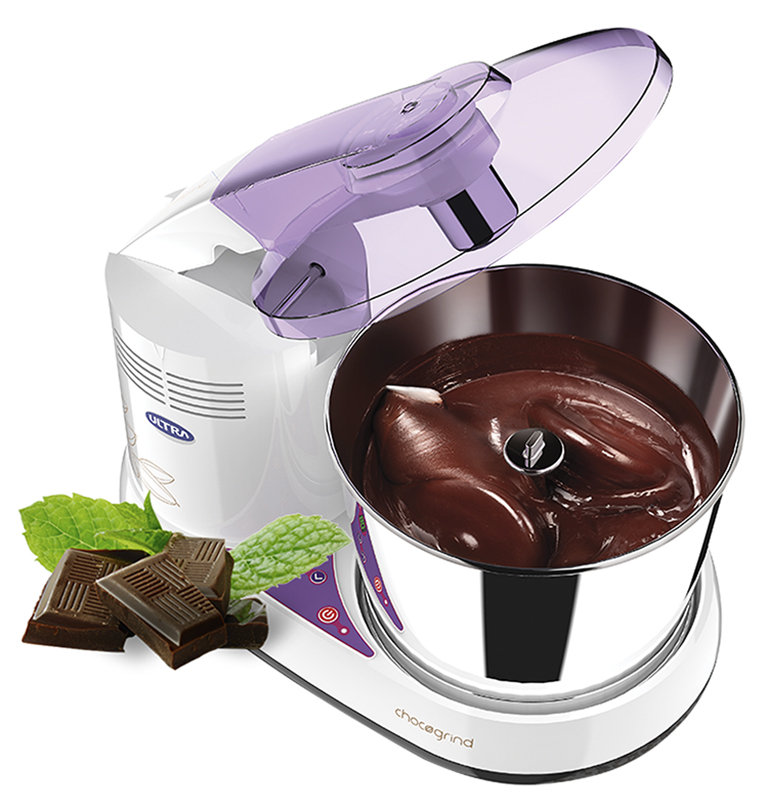
Ultra is the pioneer in compact table top wet grinders and innovator of the patented conical stones. The patented conical stone design makes the batter smooth.

PATENTED CONICAL STONES
For effective grinding without high batter temperature rise

AISI 304 STAINLESS STEEL
Rust-resistant food-grade stainless steel drum for healthy food

ABS BODY
Lighter weight, longer life and great looks

150-WATT MOTOR
Powerful 150W motor for better grinding

2.5L WET GRINDER
Ideal for a family of 4

DIGITAL TIMER
Beep alert & auto switch-off at preset grinding time

MULTI UTILITY DRUM
Batter can be stored in the same drum after grinding

BATTER CLEANER
For easy cleaning of conical stones


")
")
")