

The Secret to a Sparkling Kitchen: Your Weekly Appliance Cleaning Schedule
For every homemaker, a clean kitchen isn’t just about aesthetics; it’s about hygiene, efficiency, and the joy of cooking. While daily tidying keeps things neat, a dedicated weekly cleaning tips schedule for your appliances can make a monumental difference. Regular, systematic cleaning not only prevents grime build-up and keeps germs at bay, but also extends the life of your valuable kitchen companions, preserving their authentic performance and saving you from costly repairs down the line.
This guide provides an easy-to-follow weekly cleaning tips schedule designed for the Indian kitchen, ensuring your appliances are always ready to whip up delicious, hygienic meals.
Why a Weekly Cleaning Schedule Matters
Think of your appliances as investments. Just like you’d service your car, a consistent cleaning routine for your kitchen gadgets:
- Boosts Hygiene: Prevents the growth of bacteria, mold, and mildew, especially in damp environments.
- Maintains Efficiency: Clean appliances work better. Accumulated grease or food particles can hinder their performance.
- Extends Lifespan: Regular cleaning prevents corrosion, wear and tear, and internal damage caused by dirt and debris.
- Preserves Authenticity: Keeps your appliances looking good and functioning as they were designed, preserving their original performance.
Brands like Ultra, known for their durable and easy-to-maintain appliances, are designed to integrate seamlessly into a regular cleaning routine. Their high-quality materials and thoughtful design make these weekly cleaning tips even more effective.
Your Weekly Cleaning Tips for a Spotless Kitchen
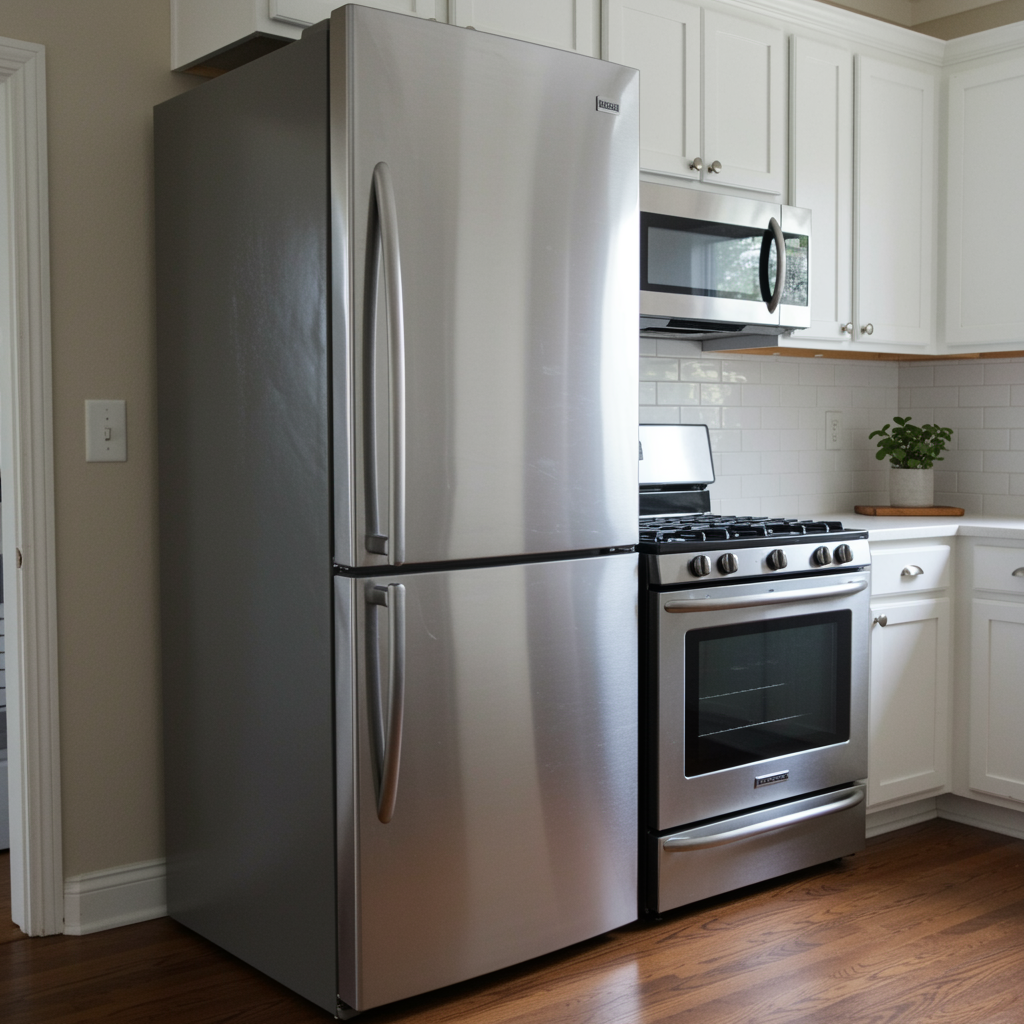
Day 1: The "Heavy Duty" Appliances (Refrigerator & Oven/Microwave)
Start your week by tackling the biggest culprits for grime and odors.
- Refrigerator:
-
- Tip: Empty out expired food items and wipe down all shelves, drawers, and interior walls with a mild disinfectant spray or a solution of baking soda and warm water. Pay special attention to door seals to prevent mold growth.
- Why it Matters: Prevents cross-contamination, eliminates odors, and ensures your fresh produce stays fresh longer.
- Oven / Microwave:
- Tip: For ovens, use an oven cleaner (follow product instructions) or a paste of baking soda and vinegar for natural cleaning. For microwaves, place a bowl of water with lemon slices inside, heat for a few minutes, then wipe down the loosened grime. Don’t forget the rotating plate!
- Why it Matters: Removes baked-on grease and food splatters, preventing unpleasant smells and maintaining heating efficiency.
Day 2: The "Grinding & Blending" Squad (Mixer Grinder & Wet Grinder)
These appliances deal with intense food contact and require regular attention to maintain hygiene and blade sharpness.
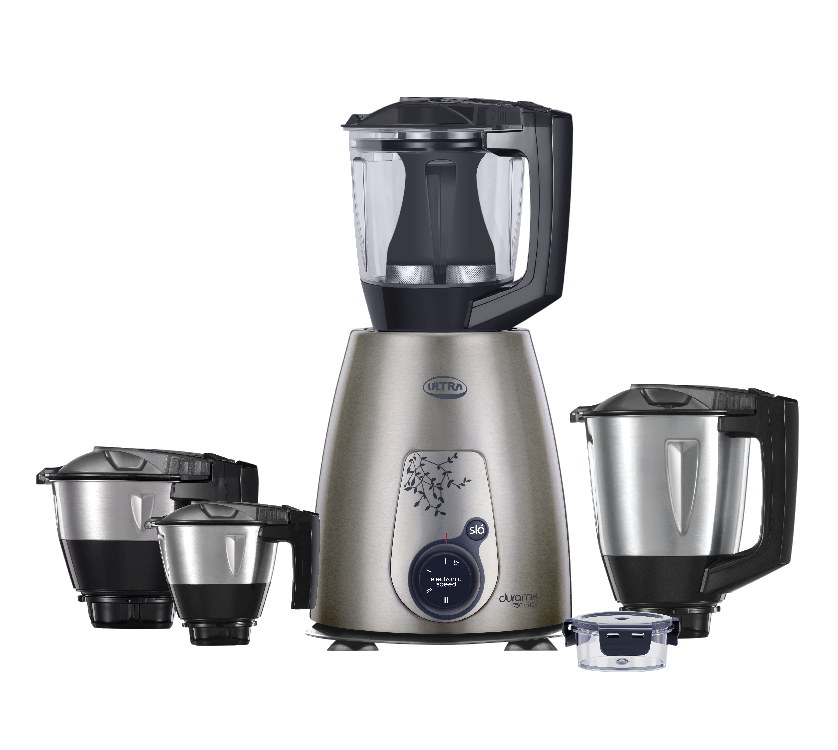
- Mixer Grinder:
- Tip: After every use, rinse jars and blades immediately. Weekly, give them a deeper clean: add warm water and a drop of dish soap to the jar, run the mixer for 30 seconds, then rinse. Dry all parts thoroughly before storing to prevent rust on blades and couplers. Pay attention to the motor unit’s vents – wipe them dry.
- Why it Matters: Prevents food residue build-up that can harbor bacteria, keeps blades sharp, and prevents corrosion on metallic parts.
- Ultra Advantage: Ultra Mixer Grinders feature high-grade stainless steel jars and precision-engineered blades that are highly resistant to corrosion. Following these weekly cleaning tips will extend the life of these robust components and maintain Ultra’s authentic grinding performance.
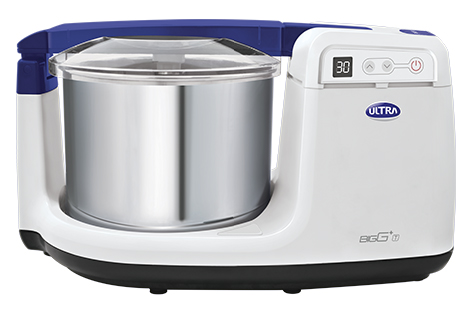
- Wet Grinder:
- Tip: Immediately after use, clean the drum and stones. Weekly, remove stones and clean all internal parts of the drum thoroughly. Ensure no batter residue is left. Wipe down the entire unit. Dry all components completely before reassembling or storing.
- Why it Matters: Crucial for preventing mold growth in batter residue, maintaining hygiene, and preserving the efficiency of the grinding stones.
- Ultra Advantage: Ultra Wet Grinders are designed for easy cleaning with detachable drums and conical stones. Regular adherence to these weekly cleaning tips will preserve the unique non-heating grinding action of Ultra appliances, ensuring perfect batter every time.
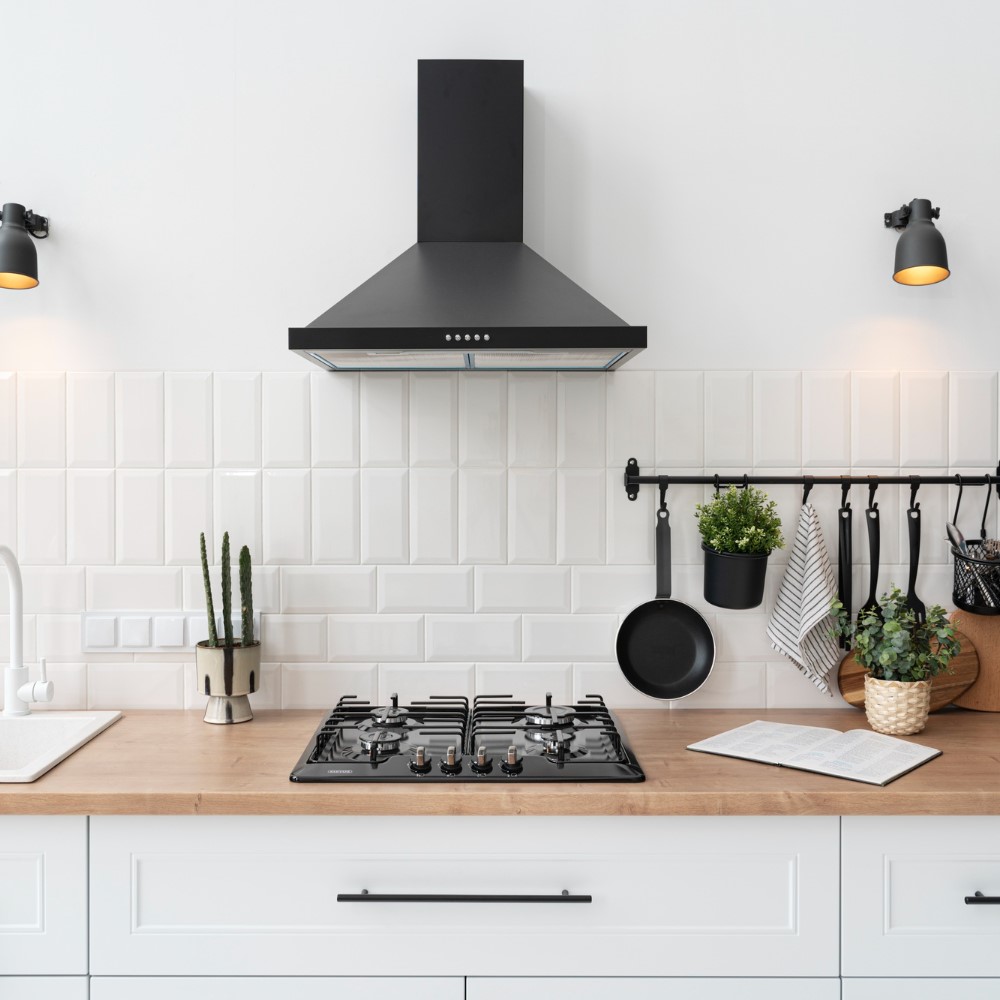
Day 3: The "Cooking Heat" Hub (Gas Stove & Chimney/Exhaust Fan)
Grease and grime can quickly accumulate here, affecting efficiency and posing fire hazards.
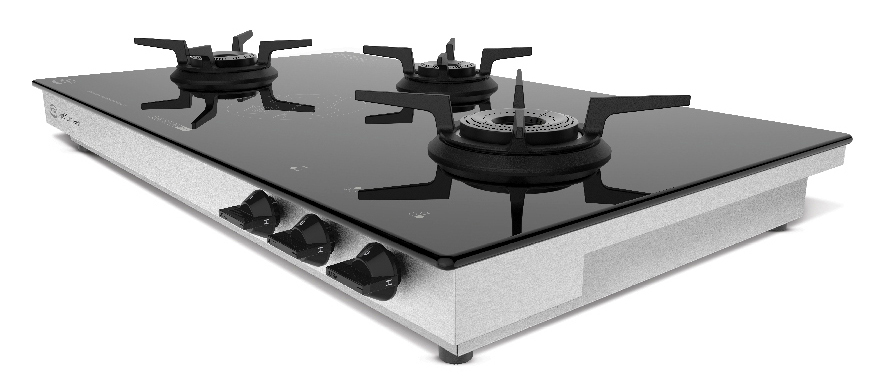
- Gas Stove:
-
- Tip: Remove burner caps and rings. Clean them with warm soapy water, scrubbing away any burnt-on food. Wipe down the entire stove surface (glass or stainless steel) thoroughly. Clean the grates. Ensure all parts are completely dry before reassembling.
- Why it Matters: Prevents grease build-up, maintains even flame distribution, and prevents rust on metal components.
- Ultra Advantage: Ultra Gas Stoves, with their durable glass tops or stainless steel bodies and forged brass burners, are built for easy cleaning. Following these weekly cleaning tips will keep your Ultra stove looking new and operating at its optimal gas efficiency.
- Chimney/Exhaust Fan:
- Tip: Clean the external surface of the chimney. If you have removable filters, clean them weekly or bi-weekly according to manufacturer instructions (some are dishwasher safe, others need degreaser and hot water).
- Why it Matters: Prevents grease accumulation, which can hinder suction power and become a fire hazard.
Day 4: The "Dishwashing & Water" Zone (Dishwasher & Water Purifier)
Appliances dealing with water often face mineral deposits and residue.
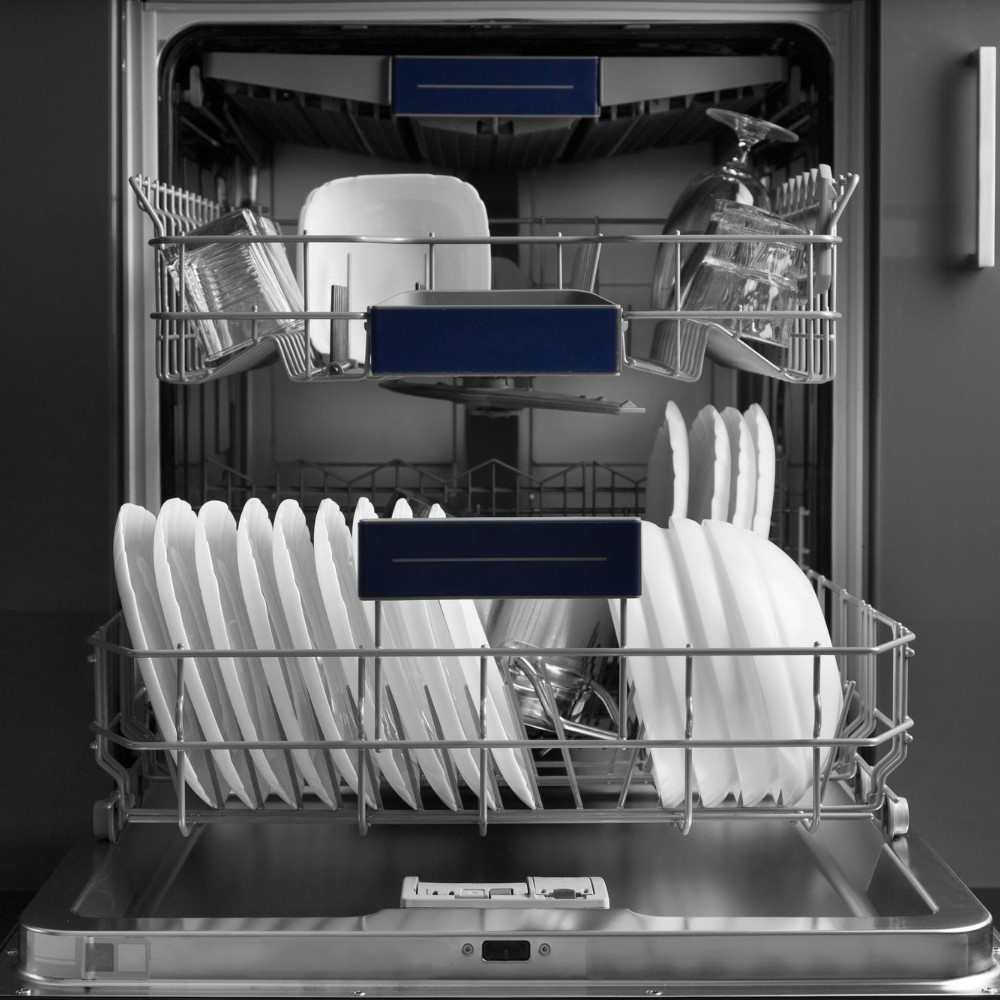
- Dishwasher:
-
- Tip: Clean the filter at the bottom regularly (weekly or bi-weekly). Run an empty cycle with a dishwasher cleaner or a cup of white vinegar to remove mineral deposits and odors.
- Why it Matters: Ensures dishes come out sparkling clean and prevents internal blockages.
- Water Purifier:
- Tip: Wipe down the exterior. If your model has a detachable tap or spout, clean it thoroughly. Follow manufacturer guidelines for internal cleaning or filter replacement schedules.
Why it Matters: Ensures clean drinking water and prevents external contamination.
Day 5: The "Small Wonders" & General Surfaces (Toaster, Kettle, Coffee Maker, Counters)
Don’t forget the smaller, often-used appliances and the surrounding surfaces.
- Small Appliances:
- Tip: Unplug and wipe down toaster crumb trays, kettle interiors (vinegar solution for descaling), and coffee maker reservoirs.
- Why it Matters: Prevents food residue, scale build-up, and ensures proper functioning.
- Countertops & Sink:
- Tip: Give your countertops a deep clean with a suitable disinfectant. Scrub the sink thoroughly, including the faucet and drain area.
Why it Matters: Eliminates germs and keeps the main work area sparkling.

Day 6 & 7: Catch-up, Floor Cleaning & Maintenance Check
Use these days for any missed tasks, floor cleaning, and a quick check of cords and plugs.
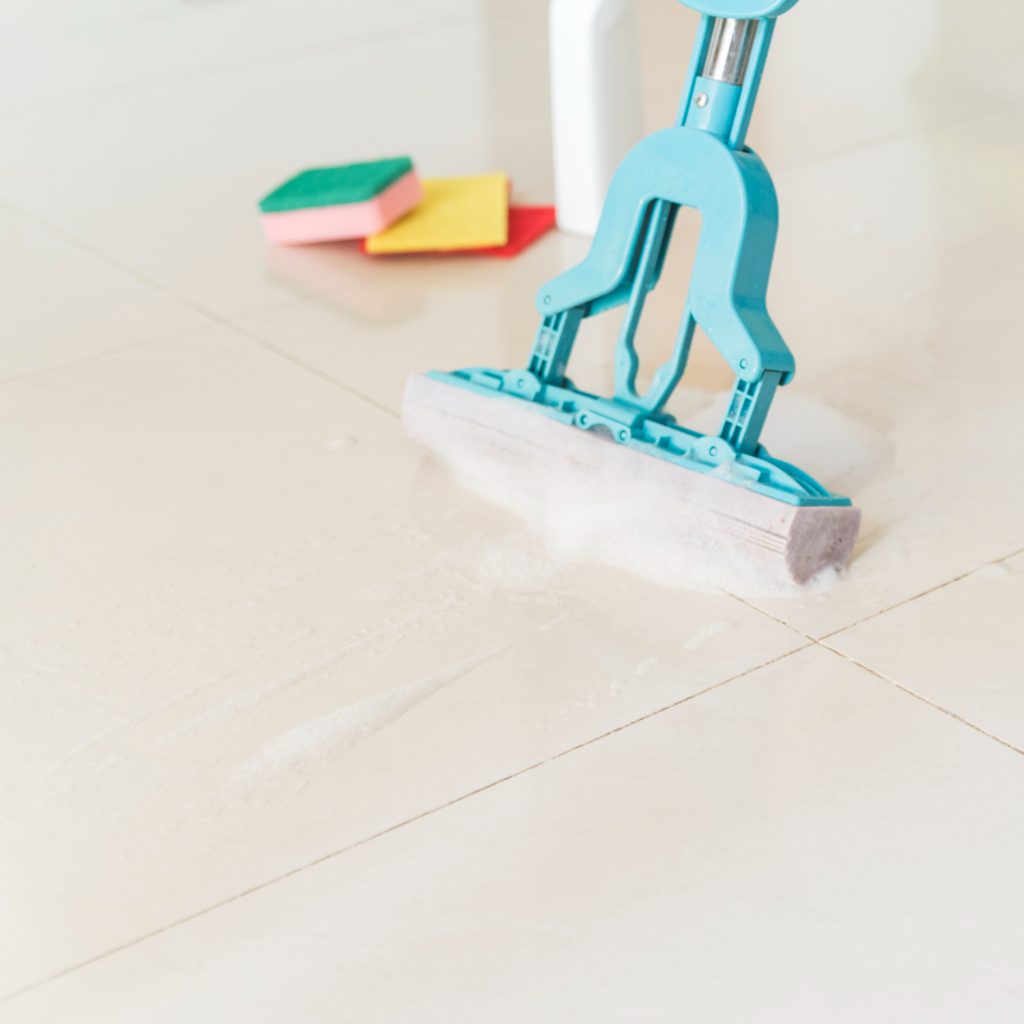
- Tip: Sweep/mop the kitchen floor. Quickly check appliance cords for fraying and plugs for loose connections.
- Why it Matters: Safety and overall hygiene.
Implementing this weekly cleaning tips schedule might seem like a lot initially, but once it becomes a routine, it will save you time and effort in the long run. Not only will your kitchen always be ready for any culinary adventure, but your valuable appliances, especially durable ones like those from Ultra, will continue to perform flawlessly, preserving the authentic joy of cooking in a clean and efficient space.