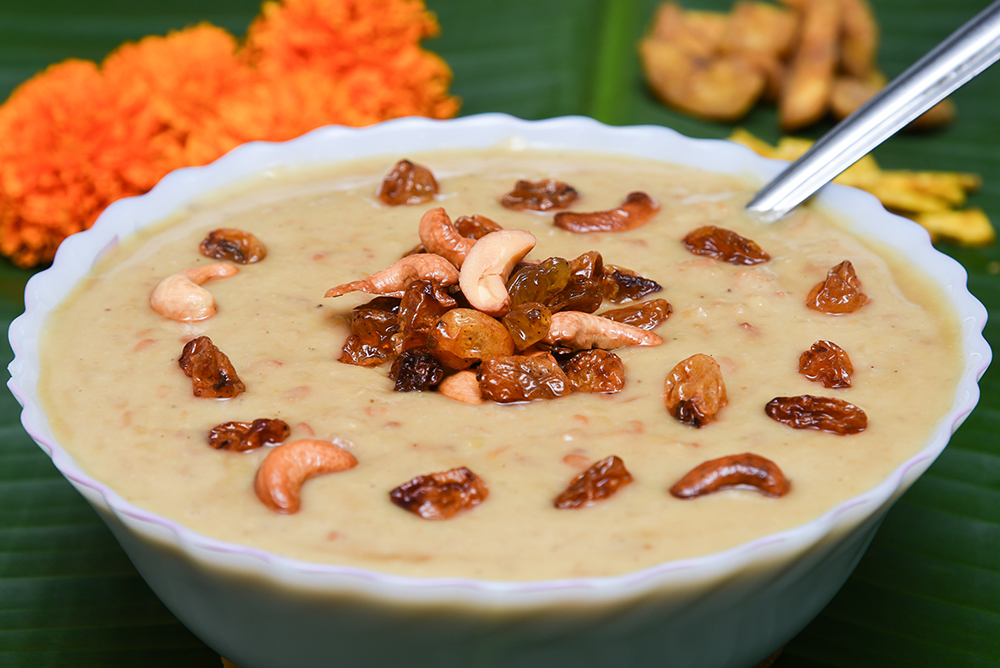
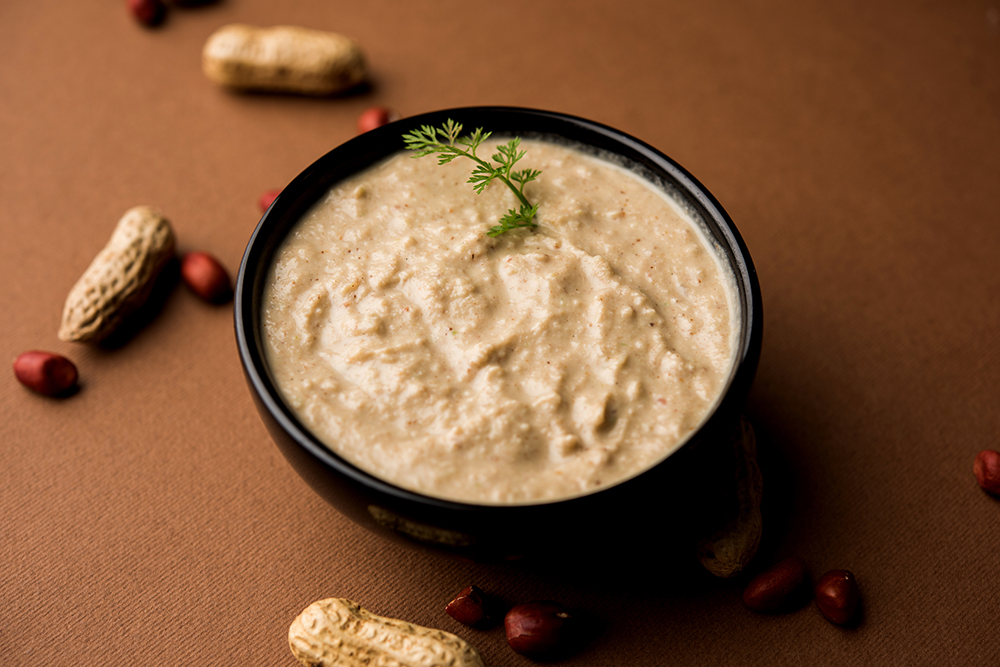
Ultra Vario+ Mixer Grinder’s Nutty Carrot Juice

This recipe comes to us from the kitchen of our customer, Mrs. Kavitha Ravichandran.
This power-house of a drink is very simple to make and a one stop shop for all the nutrition and energy you would need to recharge.
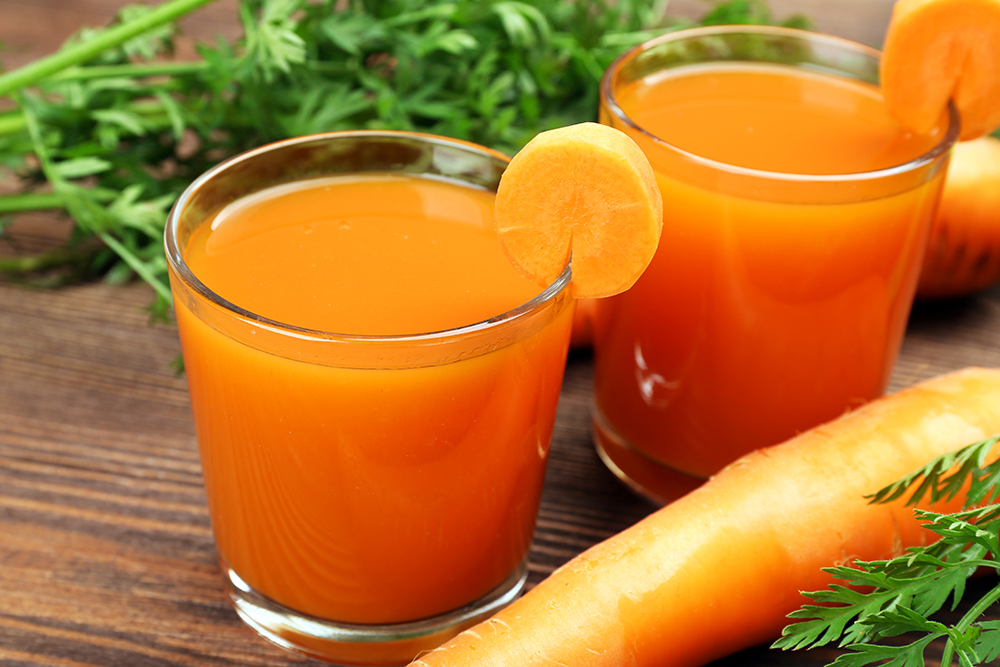
Nutty Carrot Juice
INGREDIENTS
Makes 1 Glass
5 MINS
10 MINS
Almonds – 4 – 5
Cashews – 4 – 5
Pistachio – 4 – 5
Carrots – 2
Sugar or Honey – To taste
METHOD
1. Grind the almonds, cashew nuts and pistachio at speed 2 in the Ultra Vario+ Mixer Grinder and keep aside the paste.
2. Grind the carrots along with sugar or honey, as required for taste.
3. Add one teaspoon nut paste in the Ultra Vario+ Mixer juicer jar at speed 2.
4. Strain and serve thick carrot juice with a nutty twist.
This power house of a drink is a perfect breakfast fix and can keep you running a bright and energetic day.


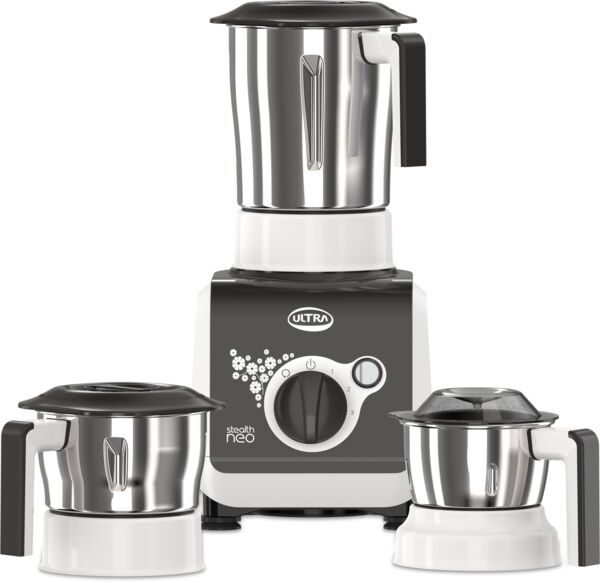
Elgi Ultra Vario+ Mixer Grinders
The Ultra range of mixer grinders are designed to provide healthy and nutritious food at the right texture and consistency

750-WATT MOTOR
Heavy-duty motor for swift, even and perfect grinding

AISI 304 STAINLESS STEEL
Rust-resistant food-grade stainless steel for healthy food

HOOK-TYPE POWER CORD
Easy to plug, easy to remove

UNIQUE SLOW-SPEED JUICING
For thick, nutritious juice without crushed seeds

ELECTRONIC SPEED SENSOR
Automatically corrects speed to ensure required grinding quality for the specified application
2-YEAR WARRANTY
Valid in the country of purchase